Fireplace Glass Gallery #5
Convert to FireGlass
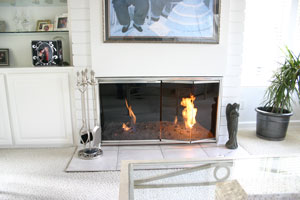
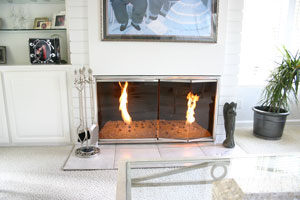
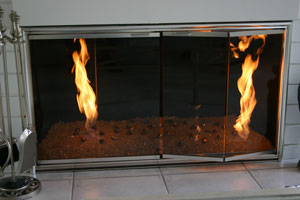
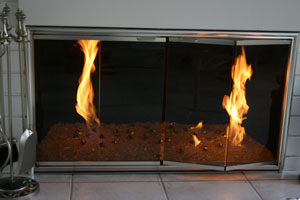
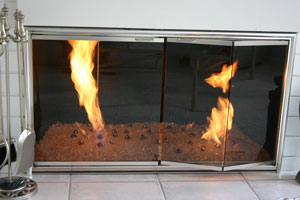
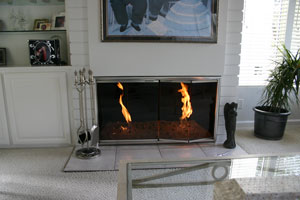
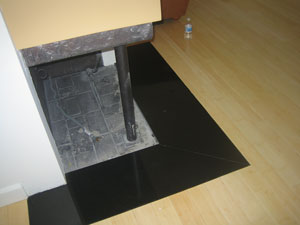
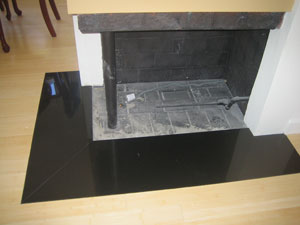
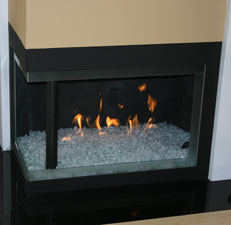
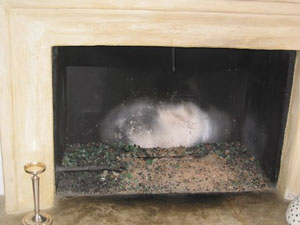
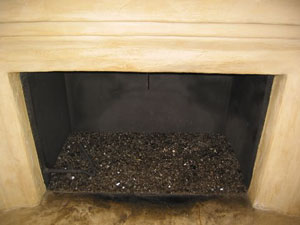
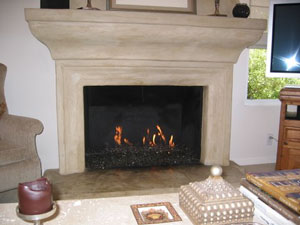
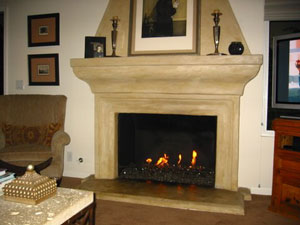
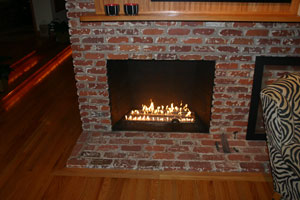
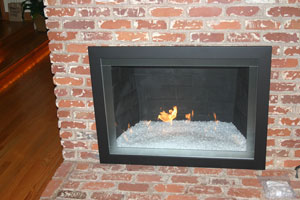
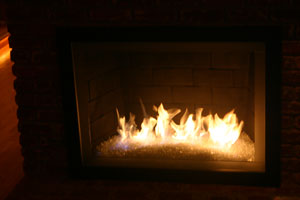
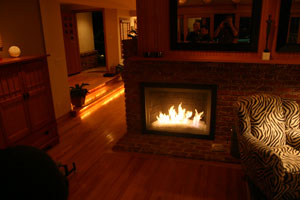
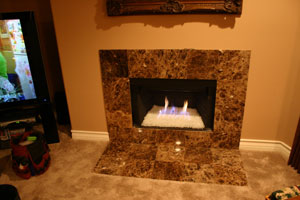
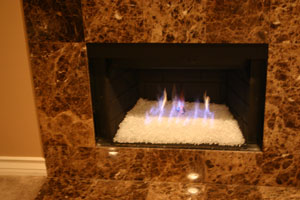
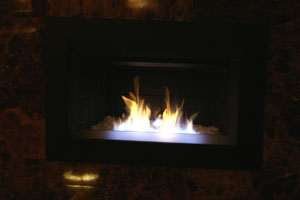
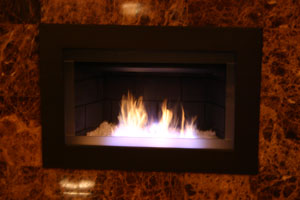
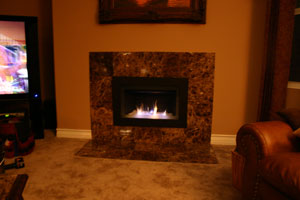
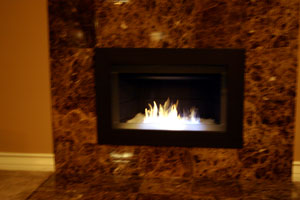
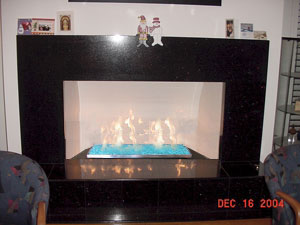
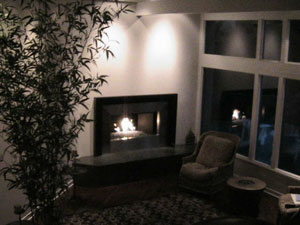
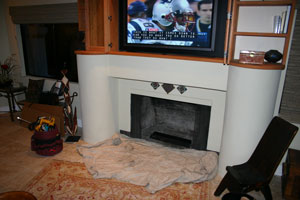
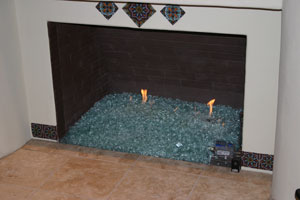
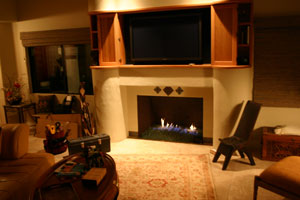
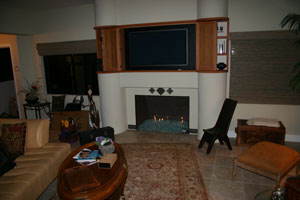
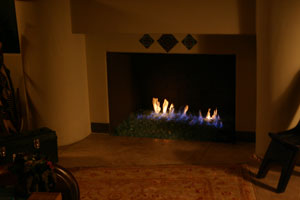
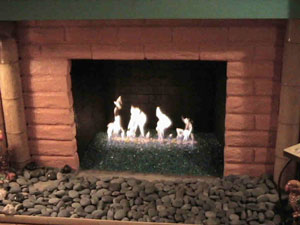
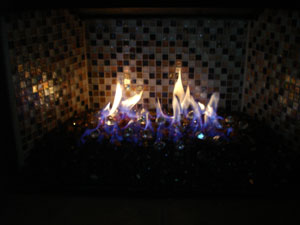
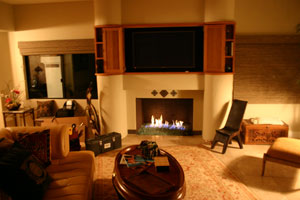
The 2 fireplaces below are Claremont California. We installed Starfire Base Glass in each of them and then the customer ordered Ice Ice Ice Topper and Diamonds to accent each fireplace. Very nice stone work!
This is the living room fireplace and we poured about 3" of sand under the Starfire Base Glass. We used a 44" "H" burner under the Starfire Base Glass.
The family room fireplace was filled with about 8" of sand under the Starfire Base Glass. We installed a 38" "H" burner on top of the sand.
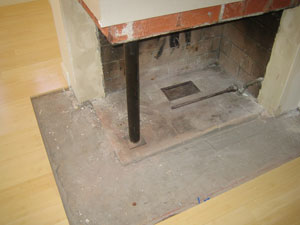
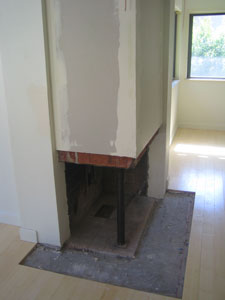
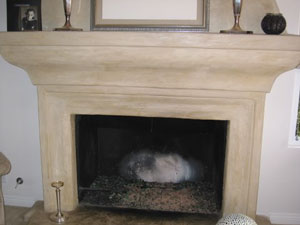
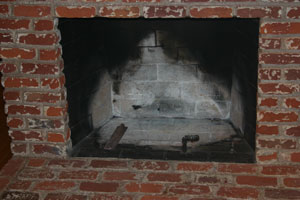
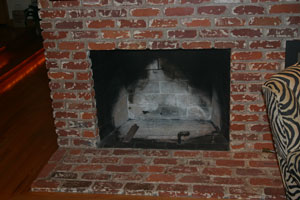
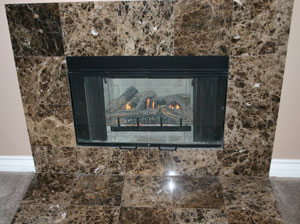
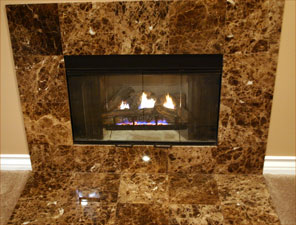
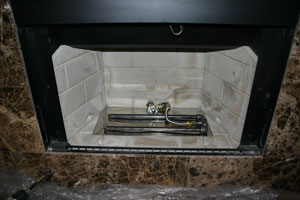
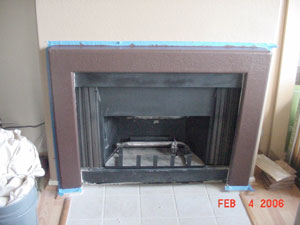
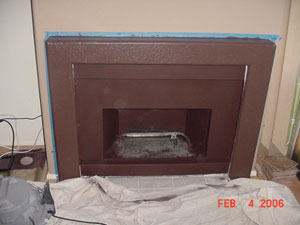
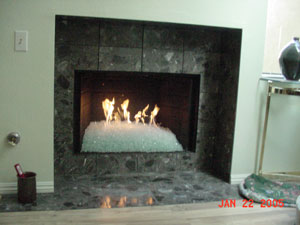
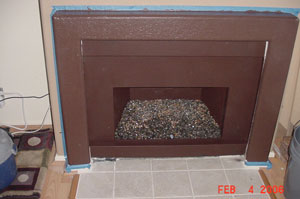
Diana McKeon from Cedar Park Texas, had a fireplace in dire need of a new look.
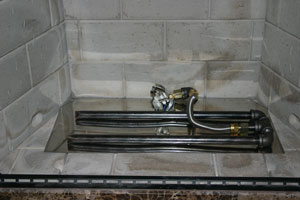
She sent us some great pictures that helped us understand what her fireplace was like. Here are two nice clear pictures of her old grill and gas line connection.
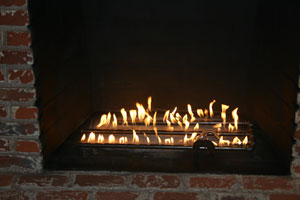
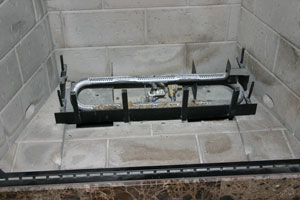
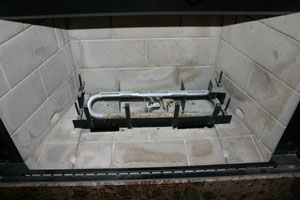
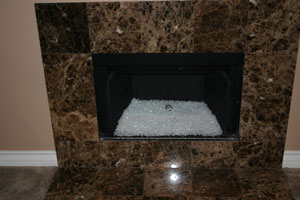
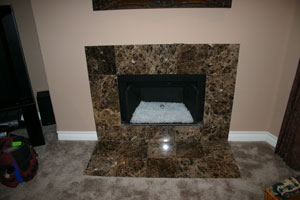
Diana wanted her fireplace to have a clean/organized look. So we built her a custom, leg-less pan that would keep her FireGlass nice and ditty. Seen below a Double 18" burner, Bronze Rust Copper Base Glass, Califrnia Gold Base Glass and some Calico Stones.

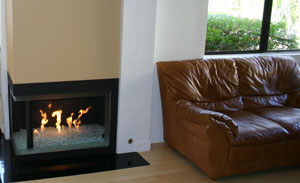
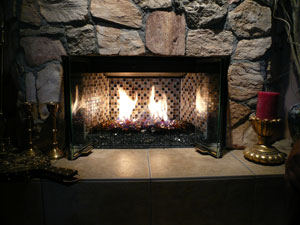
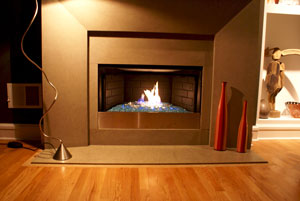
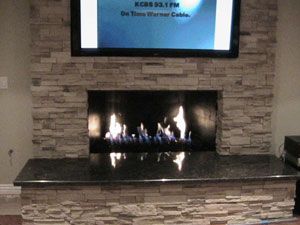
Jeanne had a very traditional, rustic fireplace that we modernized with some of Moderustic FireGlass.
As usual we empty out the fireplace, dry clean it, paint it and install the burner.
A sand base below the burner, with some Bronze Rust Copper Base Glass media.
A great job, everything blends together.

This fireplace installation took place in Palm Springs CA. A popular destination for us on Thursday's before we go to the Palm Springs VillageFest. So if you're a resident of the Palm Springs area and looking to convert your natural gas fireplace into one with FireGlass, give us a call (909) 989-6129.
So after we
cleaned the fireplace, we apply a fresh coat of
fireplace paint, then we go about laying a bed of sand filler before placing the indoor
triple steel fireplace burner in place. Concluding with the
Starfire Base Glass FireGlass poured over the burner.
Another fireplace saved from the
messy, dirty, terror of Fake Logs!
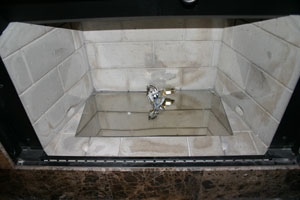
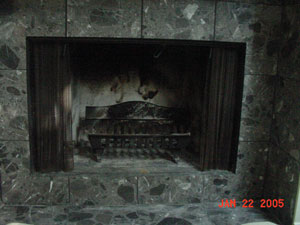
This Palm Springs fireplace had serious lack-of-flame issues. Done with 2" layer of FireGlass the burner however was inappropriate at outputting enough fire. We will explain as we move along.
We uncovered to see what was installed and found a single pipe burner. Another issue was the paint job was hideous which was later repainted.
We do approve of a sand filler indoors under lighter colored glass, but the burner must be on top! Below is what they pawned off on the customer, DON'T LET THIS HAPPEN TO YOU!
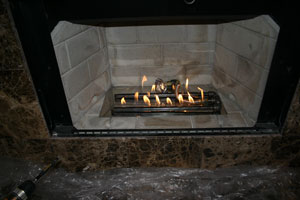
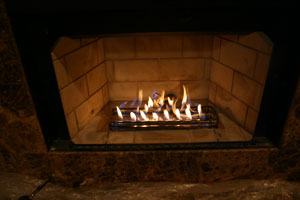
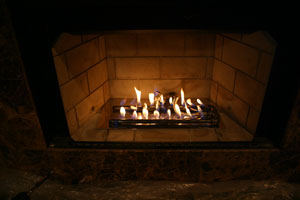
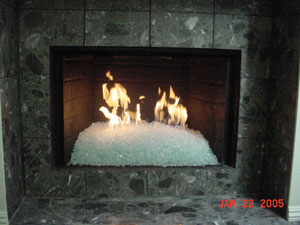
Now we installed a double burner and just watch!
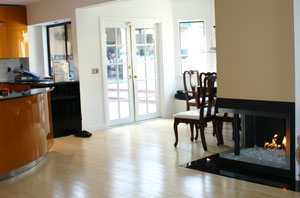
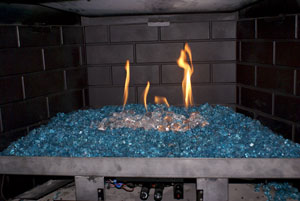
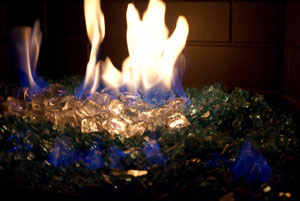
The pictures below are of a log converted fireplace in Newport Beach now we can even produce tornadoes! This fireplace has
Starfire Base Glass,
Diamonds and a few cool fire tornadoes! We can control the size and duration of these little fire devils!
We also floated the walls to level the fireplace and get it ready for the surround. A little bit of granite on the floor.
If you notice to the right there is no valve to turn it on? The plumber from a few years ago has it to the right about 5 feet, DUMMY! Lets fill the fireplace with gas before we get there and see what happens! Don't hire that plumber.
We are now going to do an extended 3/4" glass radius counter in the kitchen in front of the stove for a glass counter top. We also bent all of the kitchen handles to contour the cabinets. Now you can see the fireplace valve to the right. We flush fit a surround to the wall for a final finish. This was a satin black aluminum frame with 2" of glass installed
Much better. Then we took several pictures of the fireplace just because! We did top it off with about 15 lbs of Starfire Base Glass to help hide the sand that was exposed and it worked out just fine.

This next fireplace comes to us from Robert Stauffacher, who used
Clear Base Glass FireGlass. Robert was also kind enough to provide some feedback, here is what he had to say,
"We are so HAPPY with our new den fireplace...I suggest to any potential customer to talk with Ed and get an itemized bid from Moderustic. If there is still a question take that Itemized bid and shop around. I do not think the quality of product, quality of finished installation and customer service can be beat"
The fireplace below is in Newport Beach California and Laura did a great self install!
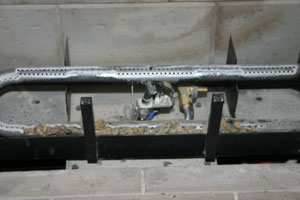
This is a new home with logs and a screen, average at best. Has anyone ever come over to your house and said" Nice Logs"? No and we are going to show you how to create a masterpiece! The pictures below are of a typical direct vent burner.
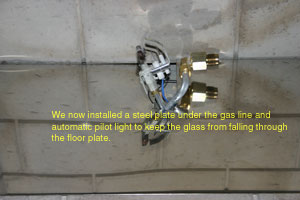
This is a picture of the automatic starter and thermocouple.
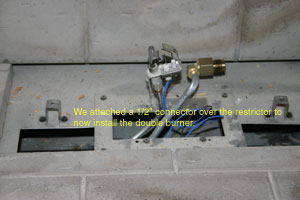
After you have closed off the bottom of the fireplace and attached the adapter, you're ready for glass! Here we are testing the burn pattern of the double burners. Our burners have 2 rows of holes in each pipe to give you 4 rows of flames.
After pouring the glass make sure the automatic starter is just above the glass so it can work properly. You can hide it with glass all around the element and it helps if it is in a hole.
Here we installed an aluminum surround that has been painted black. We have several more pictures of this fireplace with Ice Ice Ice Topper and a few colors of Toppers installed and we will have these pictures up in a few days.
See More direct vent fireplaces here.
Here is a fireplace before and after with Clear Base Glass. The stainless steel tray below has Azurlite Base Glass in the tray. A very clean and simple look. The fireplace below has a larger surround and Starfire Base Glass installed. Please note the this surround is the metal shell only without the inner frosted glass.
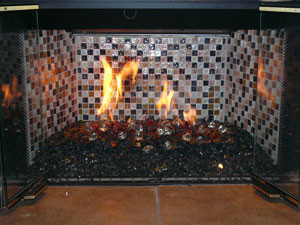
The fireplace below has Black Base Glass and Black Reflective Base Glass installed.
The fireplace below has 1/2" Chunky Clear Base Glass with a little bit of Ice Ice Ice Topper it off installed and a simple self install. This is a remote control and it is located on the bottom right.
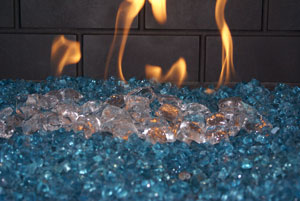
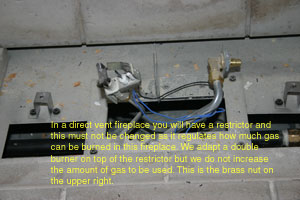
The fireplace below is a direct vent installation with Gray Base Glass, Gray Reflective Base Glass and Clear Pyrite Base Glass installed. Has anyone ever said "Nice Logs"? I don't think so. We are going to show you how to transform your direct vent fireplace into a real attractive fireplace. The key is not to change the amount of gas going into the fireplace, so don't change the regulator. The thermocouple (heat detector) will be raised to the surface to insure it will still work.
Drop in a new burner or use the one that was installed with your fireplace and you're done.
The 4 pictures below are all Clear Base Glass.
The 3 pictures below have Bronze Base Glass, Bronze Reflective Base Glass, Gray Base Glass and Gray Reflective Base Glass with the outside of the fireplace painted medium brown with fireplace paint.
The fireplace below has a base of Starfire Base Glass fire glass and Topped with Dark Red Orange Topper.

The fireplace below has Red Topper and a Clear Base Glass.
The fireplace below has Starfire Base Glass, Ice Ice Ice Topper and Copper Ruby Red Topper.

Projects of Interest
Tradewinds Fire Pit (click here)
Dallas Fire & Water Fountain (click here)
Dave Sutton Table (click here)
Fire Tables and Portable Fire Pits (click here)
Dominick's Fire & Water Fountain (click here)