We've posted several pictures sent to us from our customers who've converted their existing (natural gas or propane) fireplaces into a beautiful FireGlass fireplaces.
Some pictures show some real dramatic conversions; these come from our customers who have decided to rebuilt their fireplaces. We didn't rebuild them, we just provided the burners and FireGlass which are installed at the end.
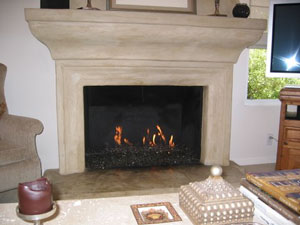
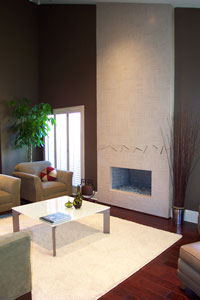
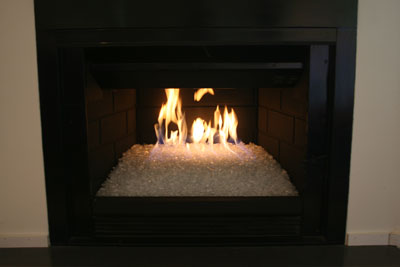
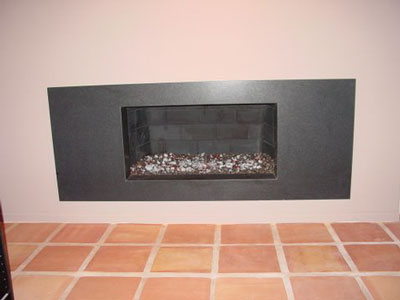
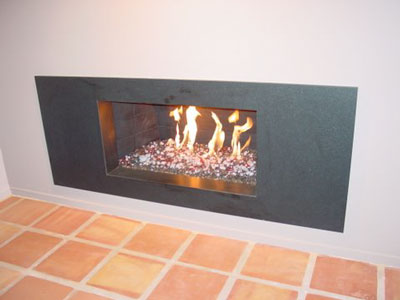
The fireplace below is in Newport Beach California and Laura did a great job installing it!
The fireplace below has Clear Base Glass, Gray Base Glass, Black Base Glass, Clear Pyrite Base Glass and topped with 1/2" Starfire Base Glass FireGlass.
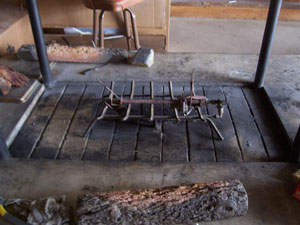
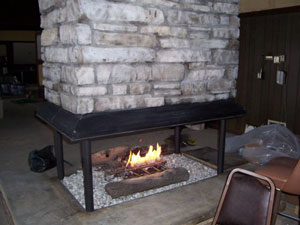
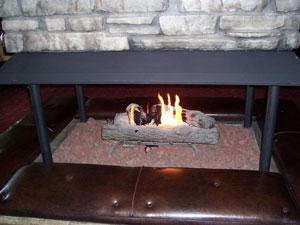
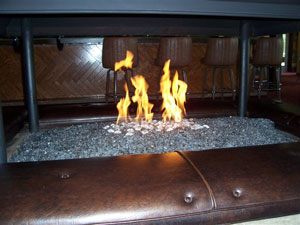
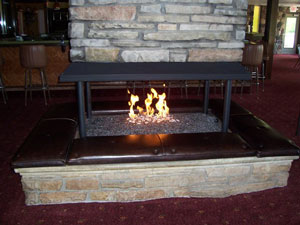
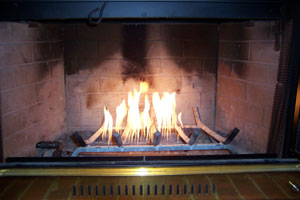
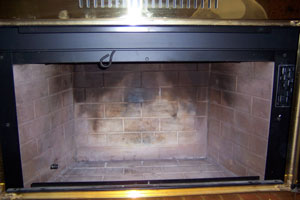
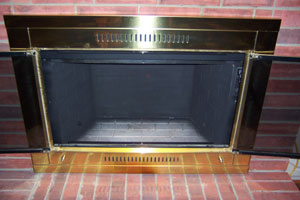
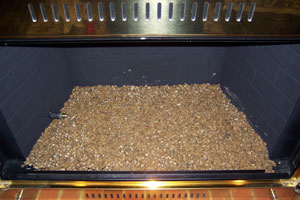
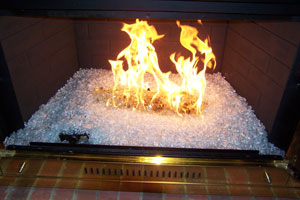
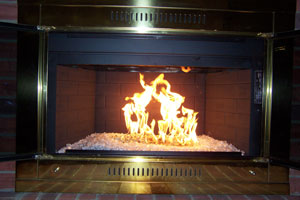
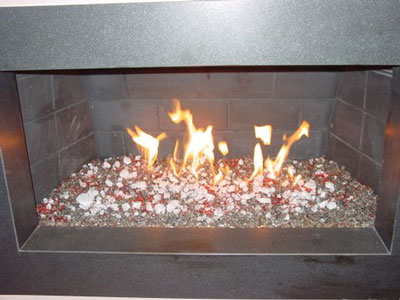
Sample 3 - A Restaurant's Ugly Fire-log Converts to a Beautiful FireGlass Fireplace
This fireplace is in Shawano, Wisconsin at the Cotton Patch Restaurant.
E mail Patti and tell here you saw her fireplace.
Now for the after pictures! This was a custom propane burner which was under all of the glass!
This is what Patti had to say:
Hi Ed,
Well, it's been about two weeks since I installed the new fireplace, and it is the talk of this sleepy little town. Because of the "
Ice" on the top, it has been nicknamed the "Fire and Ice" fireplace. I just placed an order for a pound each of
1/4" Gold,
Yellow Amber Topper and
Clear Ice. I think it needs a smidgen more color, and since the ice is the big feature, I decided to add a little more. I have to say, I didn't think I would like the
Ice, but it looks amazing!
Thank you Ed and Jimmy for all of your help and hand holding over the past few months. I will take more pictures when I add the new products.
Thanks again,
Patti
arnev@frontiernet.net
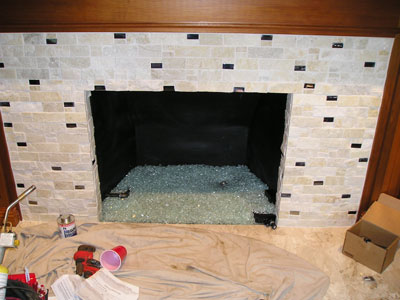
Sample 4 - A Propane Fireplace Converted To Work With FireGlass
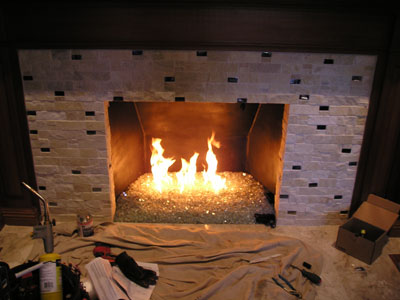
The fireplace below is a propane burner, self installation with the 2" method, Starfire Base Glass and Gold Base Glass FireGlass on top.
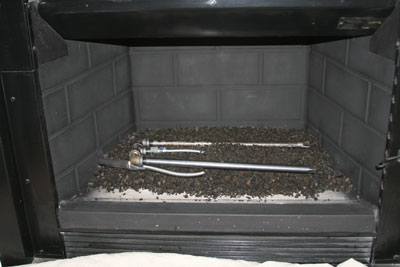
The old burner with a smaller flame pattern which we will change to a double burner in our tray propane pan burner.
A little bit of cleaning with a wire brush and Fireplace paint.
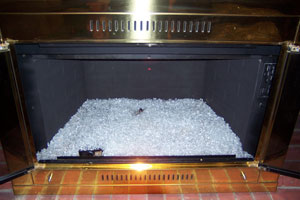
We filled the bottom with pea gravel and the covered it with sand

Then we installed the propane burner and filler it with pea gravel to the top of the burners
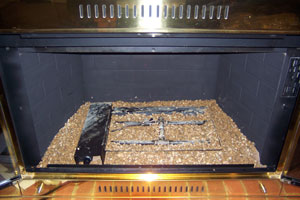
You can see the pilot light and thermocouple are still exposed.
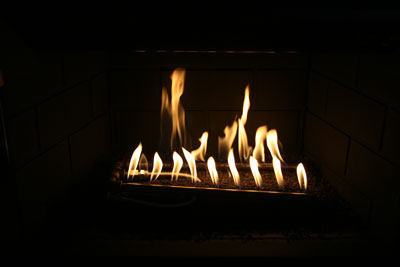
So there it is, a clean burning propane fireplace 2" method, no soot, no smells, no carbon monoxide and it puts out a tremendous amount of heat. We sell the 2" method because it works and if anyone tries to tell you different, they need your money more than you do. We are the only company building propane burners for glass that don't soot or smell!
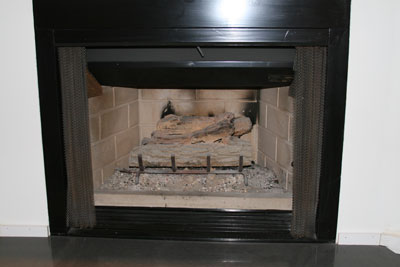
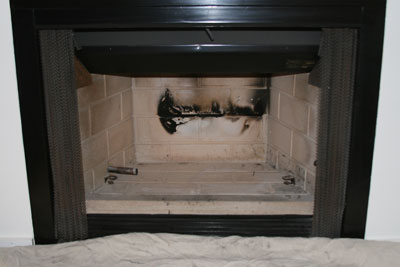
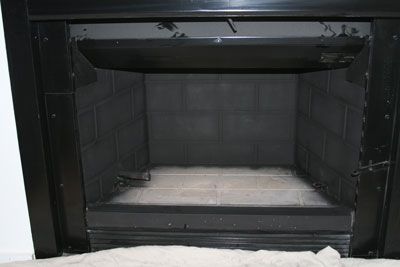
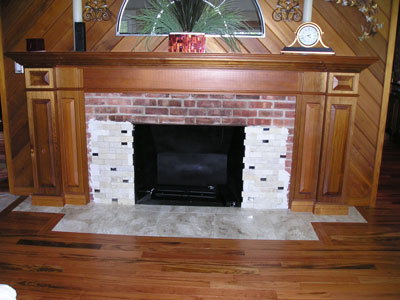
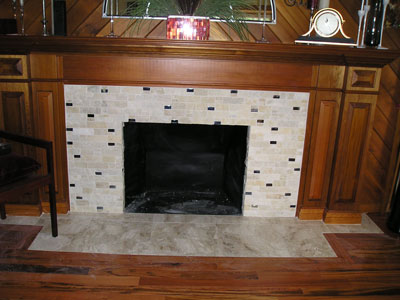
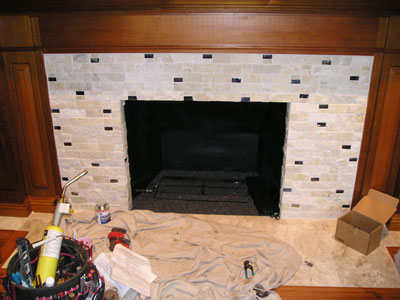
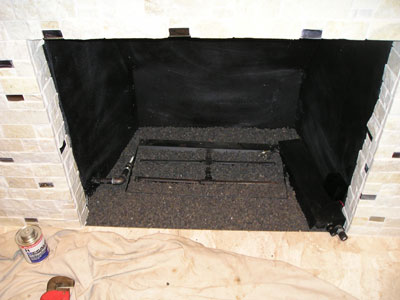
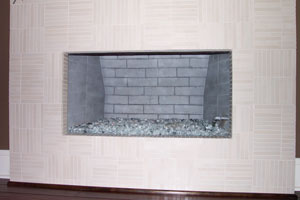
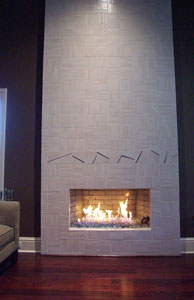
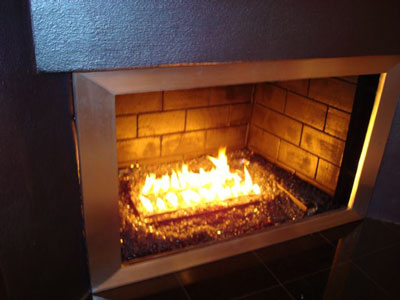
Sample 7 - A Re-Built Brick, Propane, Fireplace with
Starfire Base Glass FireGlass and Custom Fireplace Surround
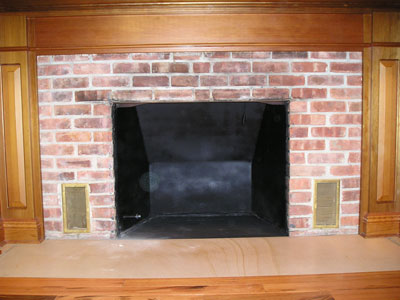
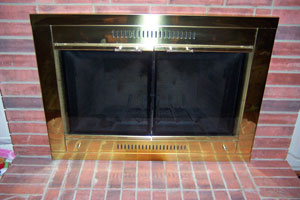
These fireplace pictures were sent to us from a customer in Pasadena California. Looks nice? Huh? NOT!
Again, has anyone ever told you nice logs? I don't think so. I would really not like being a log manufacture as they really produce some ugly products, in my opinion. But you decide for yourself.
Now test the burner to insure the flames don't hit the back wall as this will scorch the walls.
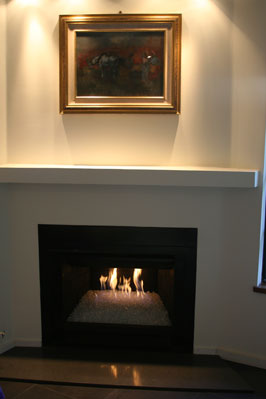
Now this is nice! Especially with the black metal
fireplace surround which completes the fireplace beautifully. Most everyone tells us "Nice Glass"!
Sample 8 - A Remote Control Propane Fireplace
These fireplace pictures were sent to us by our customer John Addisonby from Lakeland, Florida. The fireplace has one of our propane pan burners with a remote control. We built a brushed aluminum surround with out the inner glass per the customer request.
As you can see the fireplace was not much to look at until we added our touch.
The glass that was used was a Gray Base Glass with Black Base Glass and Copper Ruby Red Topper on top.
You be the judge, We think it turned out wonderful!
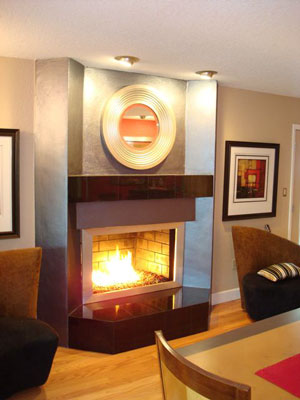
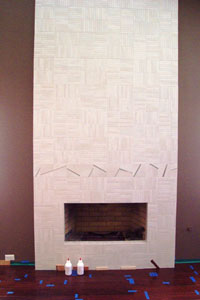
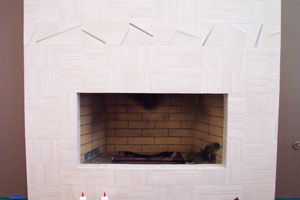
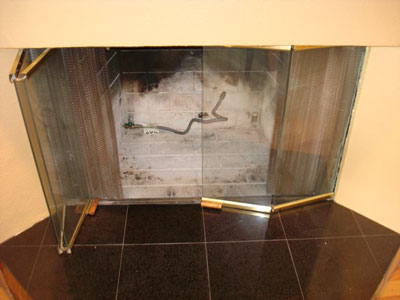
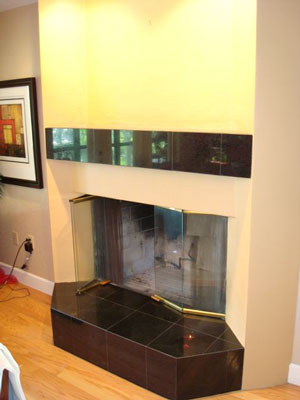
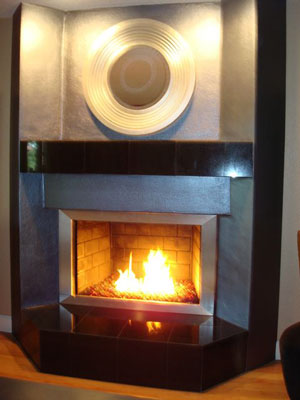
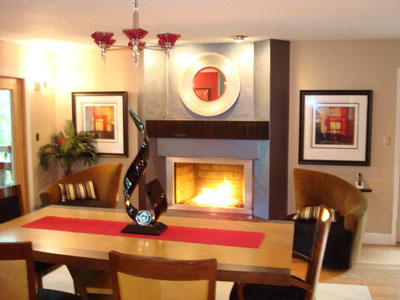
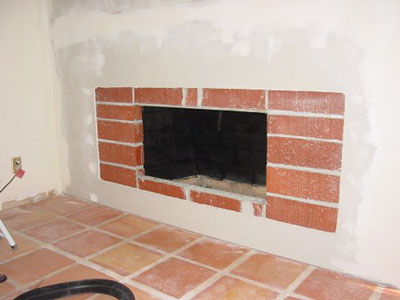
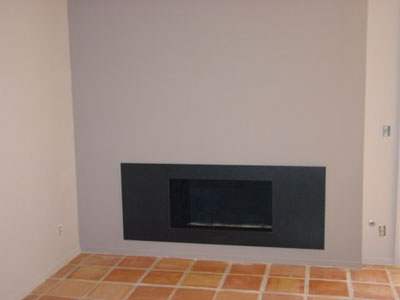
Sample 8 - A Complete Overhaul in Design
These pictures were sent to us by our costumer Rich Kamins, who went for a more contemporary look. This is a great example of "how to" make it low and lean! One very nice job!
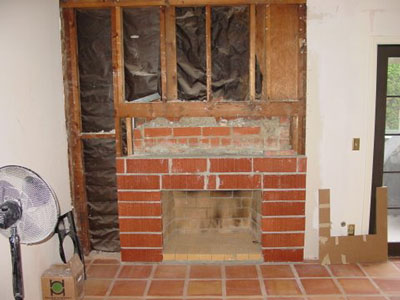
w bricks and some drywall
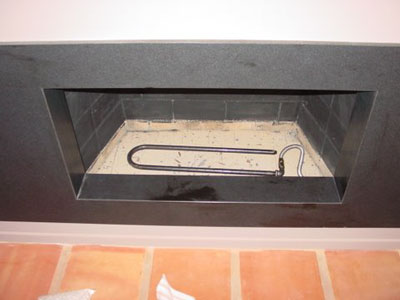
Some sand under the burner for filler to raise the base glass.
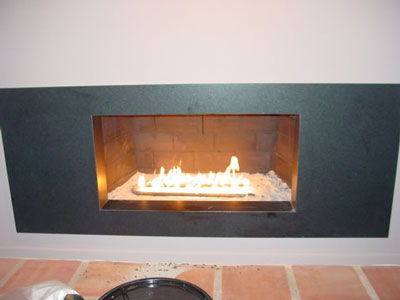
Rich used a Bronze Base Glass and Bronze Reflective Base Glass FireGlass. Topped with a bit of Starfire Base Glass, Ice Ice Ice Topper and about 2 pounds of Copper Ruby Red Topper for a splash of color.
And here you have one nice finished fireplace.
Sample 9 - A Re-Tiled Propane Fireplace.
Finish the face and floor, very nice!
On the left side you can see the gas connection which will soon be covered as well. On the right side the control cover will be covered as well. This
propane pan burner was fitted with a remote control, radio frequency.
Now that your finished your ready for FIRE! Have your spouse lite it in the event they didn't follow the instructions! (just kidding again)!
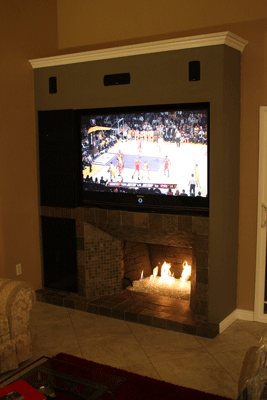
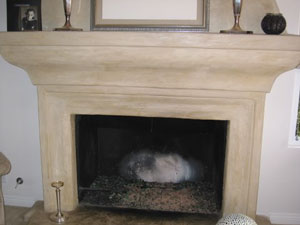
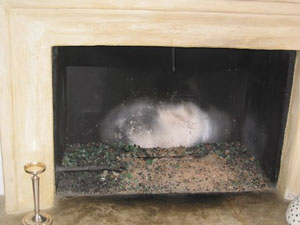
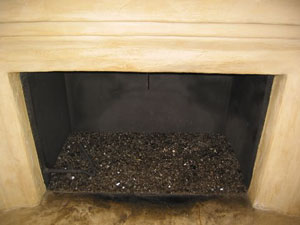
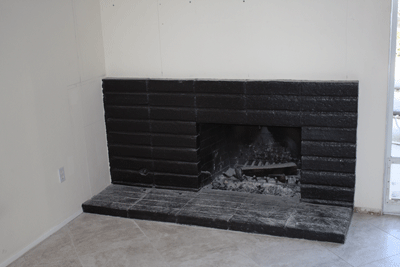
The Fireplace below belongs to Candice, Jonathan and Rocky (a cute little Yorkie). We converted a plain fireplace to a much more usable and modern fireplace TV entertainment area. Watch the transformation from beginning to end. We topped it with Starfire Base Glass to finish it off.
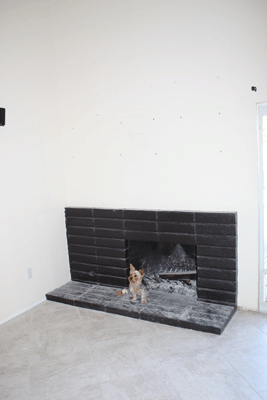
Below is Rocky, just supervising.
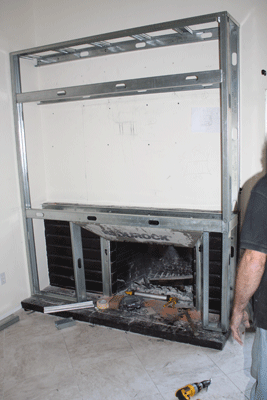
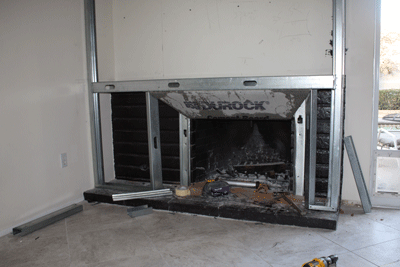
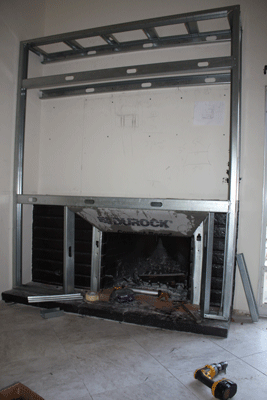
Below we wrapped the opening with durock, concrete board.
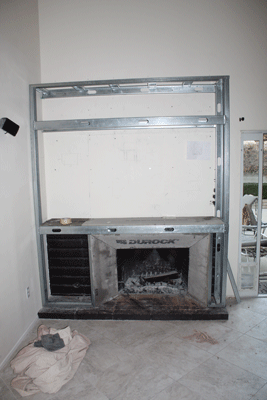
Add a bit of drywall.
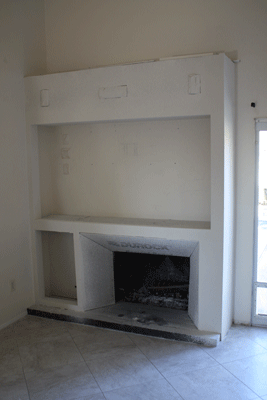
This was wired for a surround sound and electrical in the left cabinets.
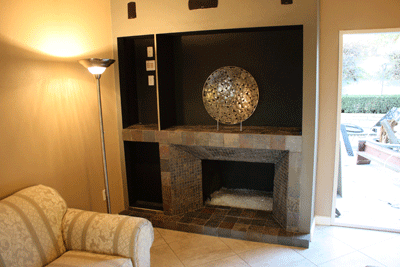
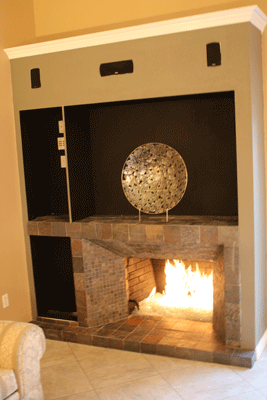
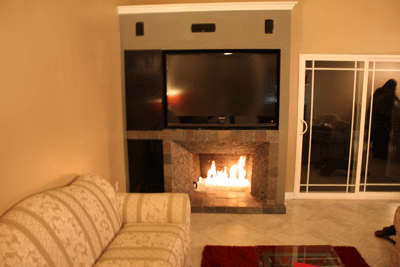
The TV that was used was a DPL (16" deep) and this is how you install a TV that is not a flat screen above your fireplace. In the left cabinets the components were installed and concealed by black glass doors. On the top we installed a set of 6" lights on dimmers to give additional room/ mood lighting.