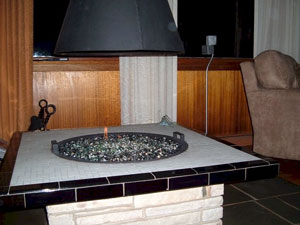
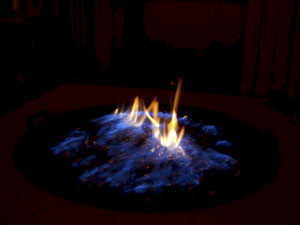
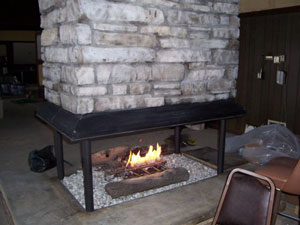
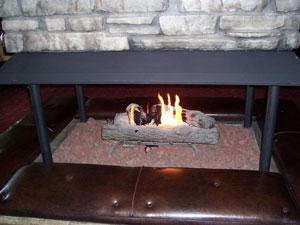
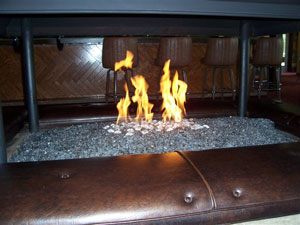
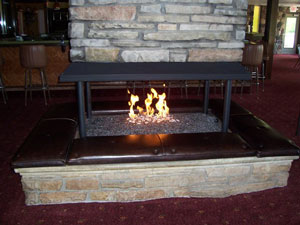
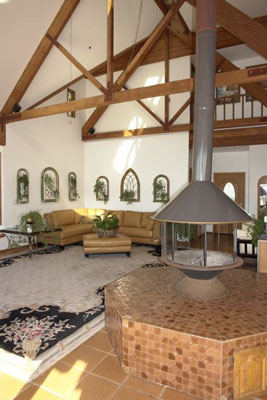
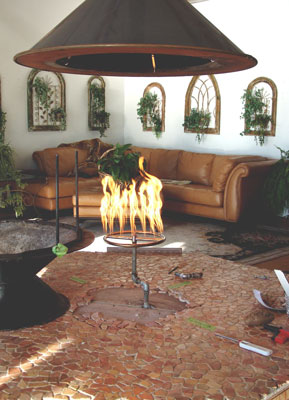
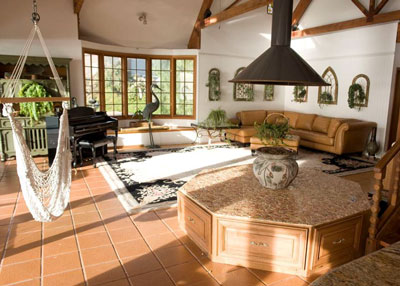
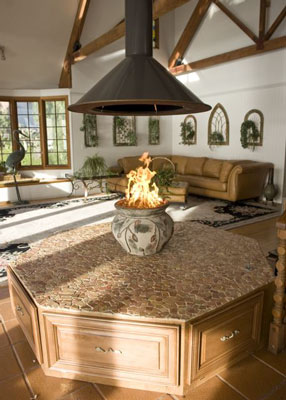
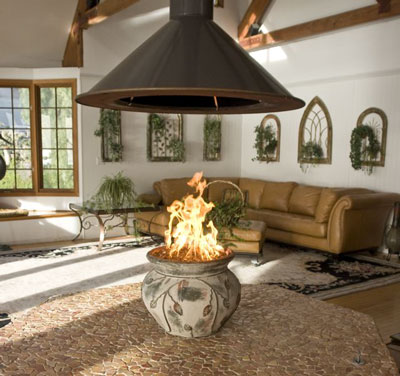
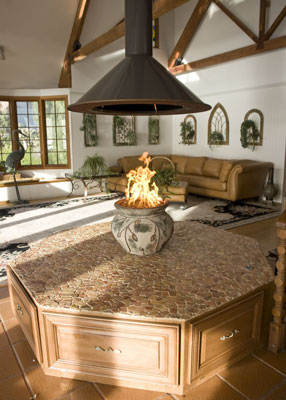
The fire pit below is in Malibu, California which no one could figure out how to do what we did. The customer didn't want to see the fire pit hood anymore. So we just raised it. And everyone said it couldn't be done! This is what we like to do, take imagination and make it a reality. The base was provided by the customer we just supplied the "raise the hood" and the ring and Bronze Base Glass and Bronze Reflective Base Glass.
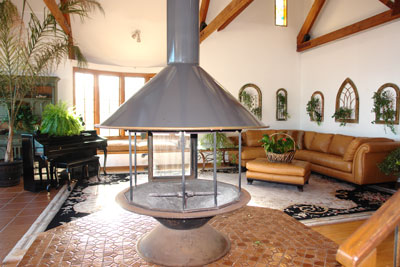
The vent went up 20 feet. E mail us and we will tell you how this was done.
CLICK HERE TO PURCHASE IN THE E-STORE!
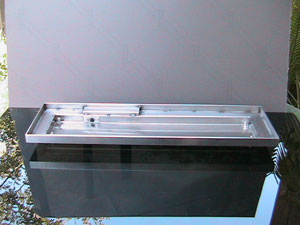
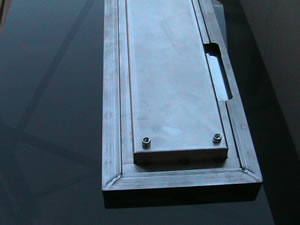
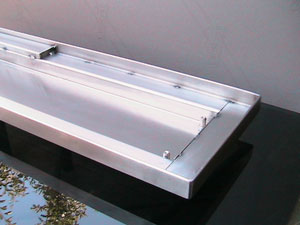
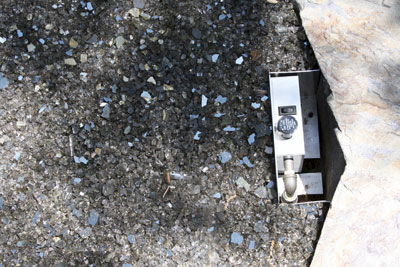
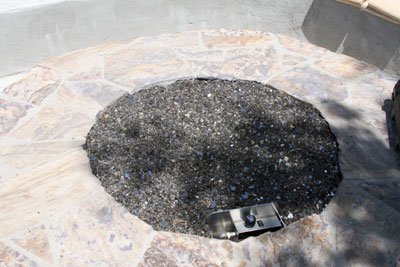
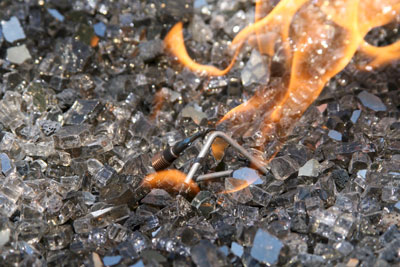
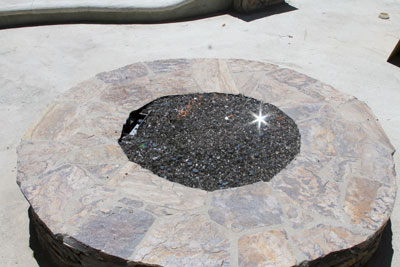
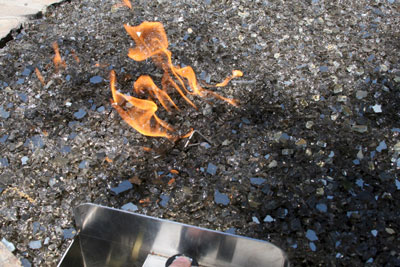
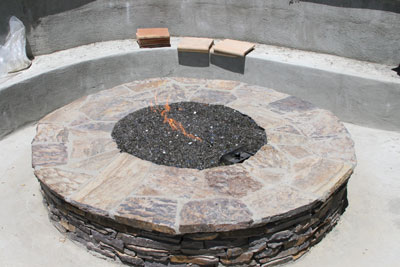
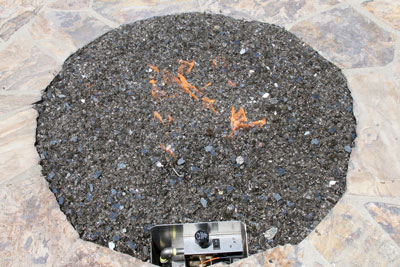
The pictures below will show you how to install a propane burner and valve in your fire pit without drilling a hole in the side of your fire pit with our FPPK (fire pit propane kit). This was install in Calabasas, California with Bronze BAse Glass and Bronze Reflective Base Glass on top. The fire pit has 10" solid sides which made this a good candidate for the FPPK to be installed on the inside wall. This is a propane fire pit and we do calibrate every valve to every ring we install to eliminate back flow and any problems or issues that may happen. We also install the proper air mixer to insure a clean burn as we eliminate the soot know to be produced by propane. If you have a propane fire pit you know what I am talking about.

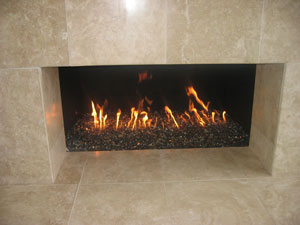
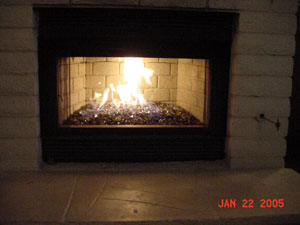
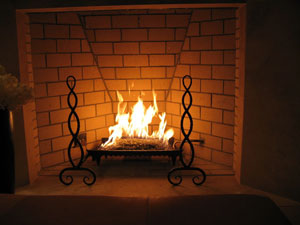
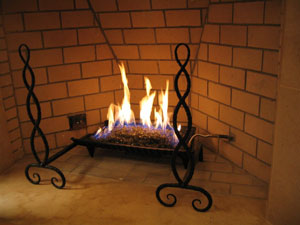
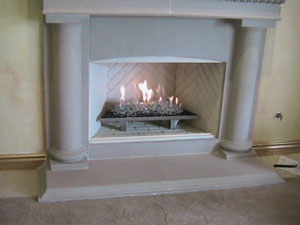
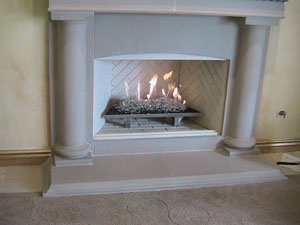
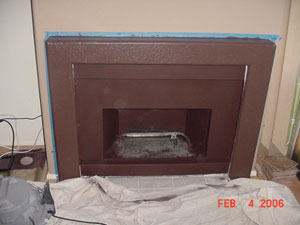
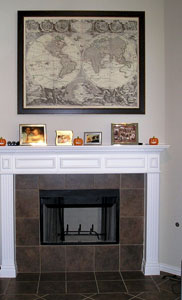
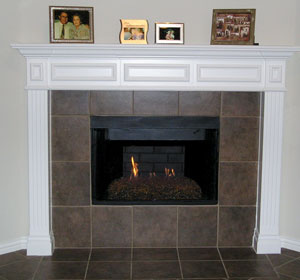
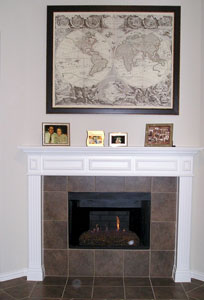
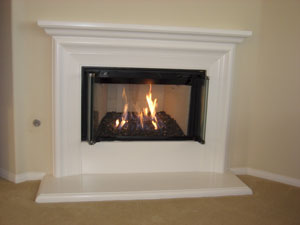
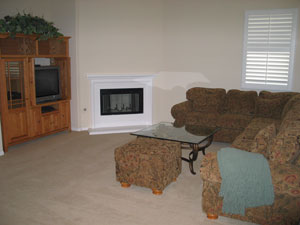
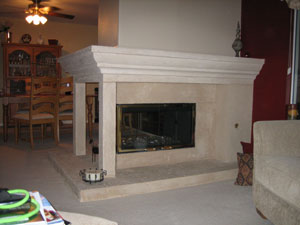
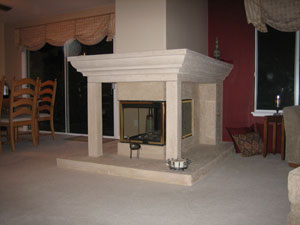
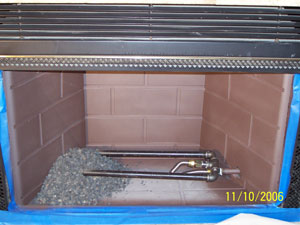
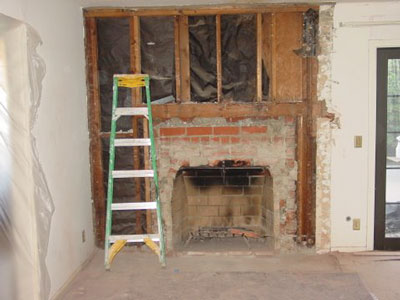
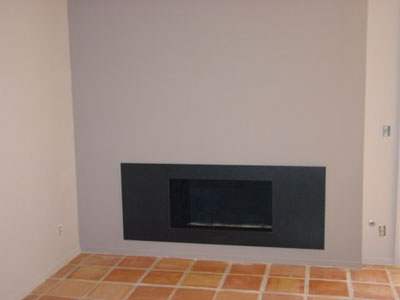
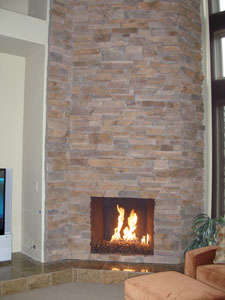
The fireplace below is a before and after and a "how to" make it low and lean. A more contemporary look. This is a self install by Rich Kamins and one very nice job!. He used a Bronze Base Glass and Bronze Reflective Base Glass. Topped with a bit of Starfire Base Glass. Ice Ice Ice Topper and about 2 pounds of Copper Ruby Red Topper for a splash of color.
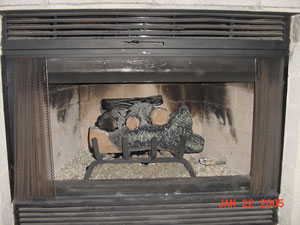
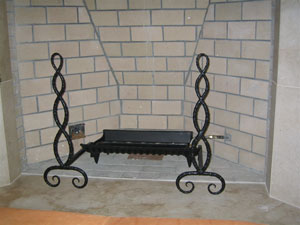
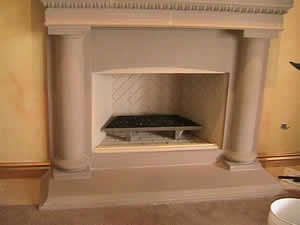
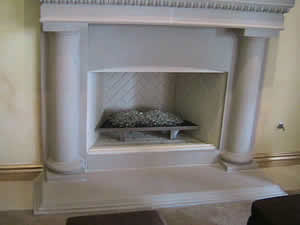
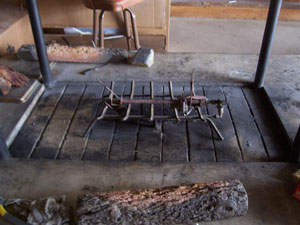
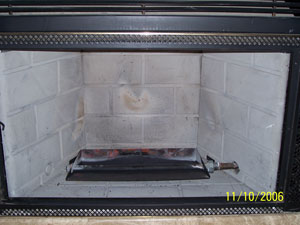
Typical nasty fireplace before Moderustic!
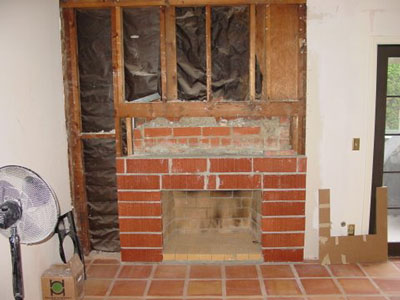
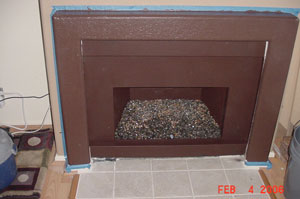
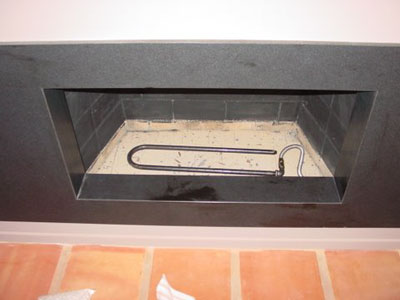
A few bricks and some drywall
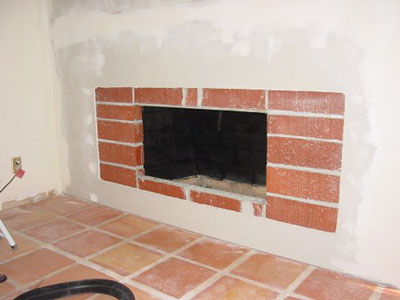
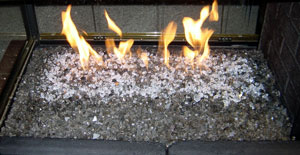
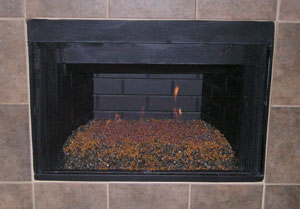
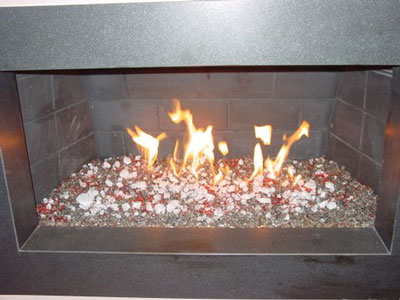
Some sand under the burner for filler to raise the base glass.
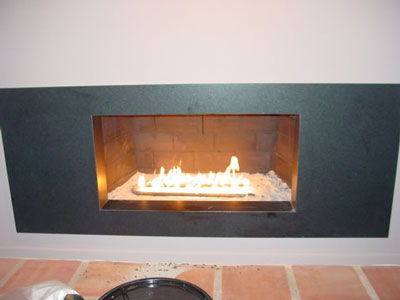
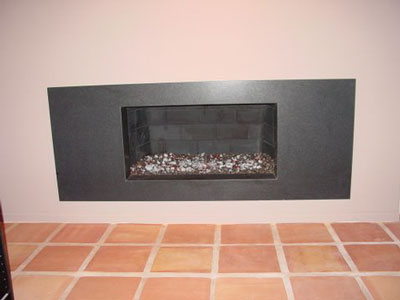
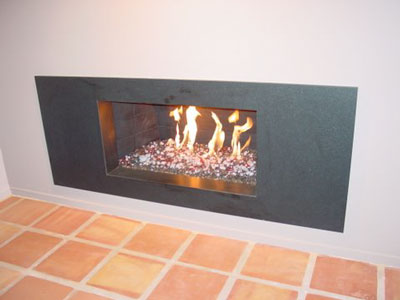
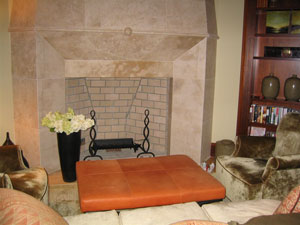
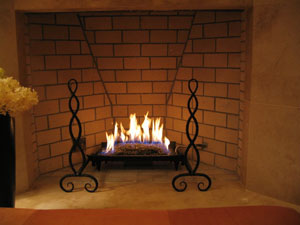
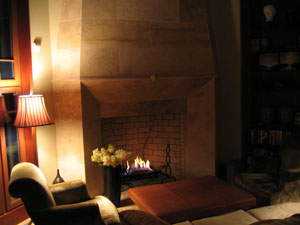
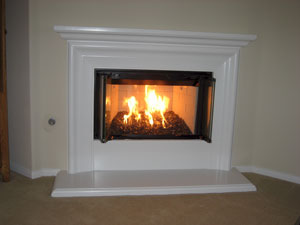
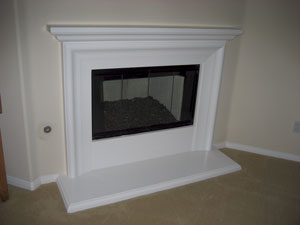
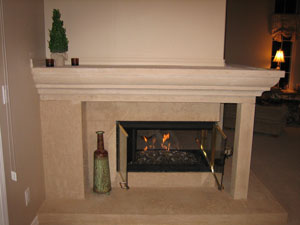
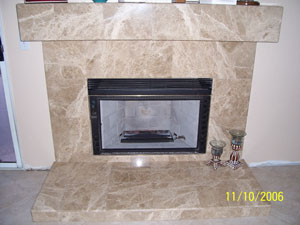
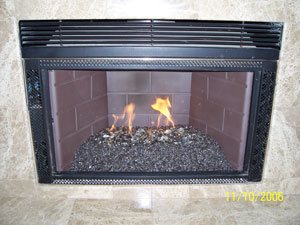
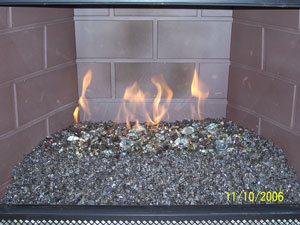
And here you have one nice finished fireplace.
The fireplace below is a self install with a 2" base of
crushed lava18 18 double burner
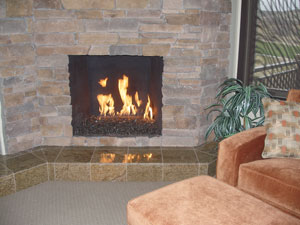
The fireplace below has a base of Gray Base Glass and Bronze Base Glass topped with Bronze Reflective Base Glass and Gray Reflective Base Glass.
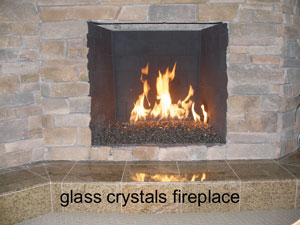
The fireplace below has a base of Bronze Base Glass with Bronze Reflective Base Glass and Starfire Base Glass on top.

This is the back side of the peninsula fireplace.


The fireplace below is from Cory here locally in Rancho Cucamonga California. This transformation was a complete surface make over along with out
Sterling Silver interior. The glass that was used was
Bronze Base Glass. This is truly a DIY project and we like to help you create your ideas to reality.
Here we begin with the old interior brick panels removed.
Below you can see the new stone being applied.
Now you can see the reflection on the walls in the Sterling Silver panels. No, these are not just mirrors in the fireplace. If you do try this, let us know how it worked out for you. Be sure to send us pictures of your project and we will be sure to post it on our "
How Not To Do It Page"! No, Really!
Again we are proud to constantly give you new and exciting products for your fireplace and fire pit projects.
 CLICK HERE TO PURCHASE IN THE E-STORE!
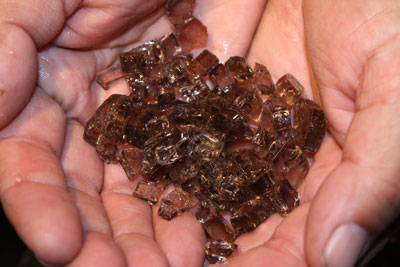
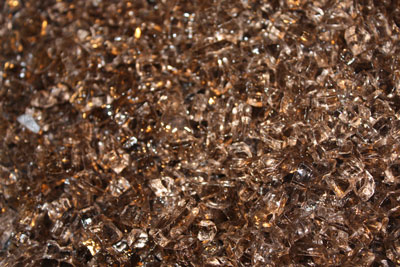
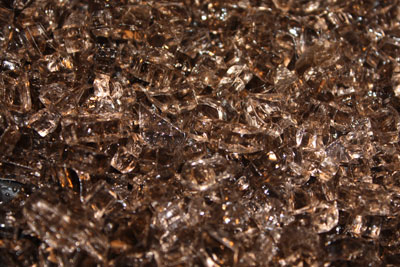
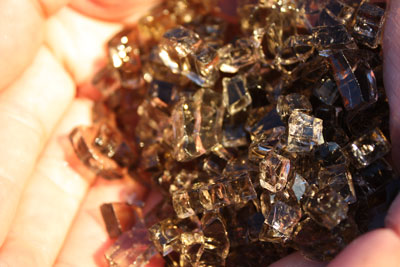
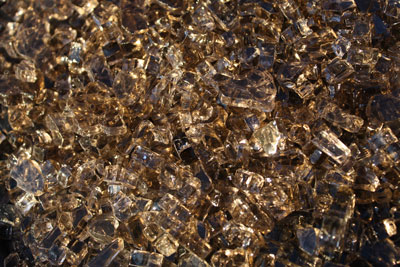
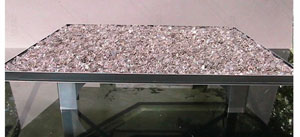
Below is a collection we took pictures for our customer to decide on which base to use under the Amber Diamonds.
Amber Diamonds alone

Amber Diamonds on Black Base Glass

Amber Diamonds on Starfire Base Glass

Amber Diamonds on New Yellow Base Glass

Amber Diamonds on Bronze Base Glass

The same product can be displayed thousands of ways. What do you want to see? Our diamonds are made with a convex base so when you look at the Diamonds in the fire they seem to be melting on the inside, like looking into a spoon. We cause it to reflect backwards. Visit out "Diamonds Page" to see many more colors!
The fire pit below is going to be installed in Sacramento on 11 14 09 for the Yard Crashers/ DIY/ HGTV show. After it is and has been installed we will post pictures on the Yard Crashers page. In the mean time here is the how to and why. We can build any size, shape, design feature you desire. We build to your imagination.
Below is the catch basin to hold the water for the feature

Above you see the auto fill?
Below the water pump is now install below.

Below the top pan is in place for testing with the fire and water bowls in place


Below the stainless steel ring is installed.

Below the glass (Bronze Base Glass) has been installed and the lights turned on.
 .
.
Below you can see the pump has been turned on.

and now the fire.

We placed a card board template to replicate the table top to conceal the lights as well.

Now we add color to the water!


Here is the feature exposed with the blue water. You can change the water to any color you like.


This feature is only 6 1/2" tall. You can mount this under the table top and keep it only an inch or so above the surface of the table top.

So let's change it to red water and add Starfire Base Glass.


Remember, we build to your imagination!

The finished pictures will be posted on the Yard Crashers page when this project is installed after 11 14 09!
The fire water feature below was built by Don Whittaker and the glass that was used was:
Bronze Base Glass, Bronze Reflective Base Glass, Garnet Topper, Ice Ice Ice Topper and Cobalt Blue Opal Topping.
Here we go from the beginning:


CLICK HERE TO PURCHASE IN THE E-STORE!
The fireplaces below are located in Palm Desert California. These were both filler with crushed lava (3" to 4" each) and then topped with a Bronze Base Glass. We then added 6" Gray Fire Balls. We will explain as we proceed:
This was the outdoor fireplace. 38" "H" burner was installed.

We then poured in about 4" of crushed lava filler.

Then we poured in about 1 1/2" of Bronze Base Glass.

Then we stacked in the 6" Gray Fire Balls. We couldn't get any burning pictures because it was to bright outdoors.

The fireplace below was indoors in the family room. We started with about 3" to 4" of filler (crushed lava). We used a 38" "H" burner again in this fireplace as well.

Then we tested the flame pattern to insure the flames were not hitting the walls.


Then we added the 6" Gray Fire Balls to the top of the Bronze Base Glass.


One very nice family room!

CLICK HERE TO PURCHASE IN THE E-STORE!
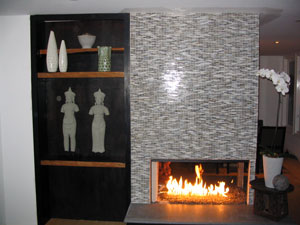
We made an aluminum border to separate the glass from the outer stone layer. This helped in design and saved on glass as well. We will explain as we move on:
Do you see how high the gas connection is? We sent a 90 degree elbow to point the gas line down and then added enough filler to the bottom of the gas line to conceal it under the glass.
The metal border is installed holding the outer layer of rock in place.
They didn't like the post in the fireplace so we cut a mirror to preview if in fact they wanted it covered at all. If they would of wanted it covered we would of made piece of super 8 stainless steel (highly polished) to cover the post. The mirror was only a temporary visual. DON'T USE REGULAR GLASS NEAR ANY FIRE! So if you are not sure, preview it. The glass we used was a
Bronze Base Glass with
Gold Base Glass and
Clear Diamonds.


CLICK HERE TO PURCHASE IN THE E-STORE!
The fire pit below was purchased locally and then we converted it to burn propane without soot! The colors used were:
Starfire Base Glass,
Here is what is looked like when he started. These manufactures have no imagination!
This only cost about $100.00, complete!

Mike Clemen installed this next fireplace. He started of with
And when he finished it, it looked amazing! Take a look.
Mike has received many compliments which we constantly shares. We do understand why and we were glad to help.
 CLICK HERE TO PURCHASE IN THE E-STORE!
The fire pit below is from Frank Hammond. He created a beach environment in his back yard. He purchased a wood burning fire pit and we converted it to a gas burning pit. We also supplied a quick disconnect gas line to eliminate plumbing underground. he used a Bronze Base Glass over a bed of crushed lava and topped it with Gold Base Glass.


The wine barrel below was build by one of our newer dealers in Texas. Matt's Custom Welding. Contact us for information about Matt's wonderful work. We are going to be much more of Matt's work and look around his showroom in the pictures below. Many more projects to come.


There was a steel bowl installed using our propane system to burn our glass. They used Bronze Base Glass in the fire pit.


The pictures below are from Tom and Maria and they installed Bronze Base Glass with lava as a filler.
We would like to share their comments:
From:Tom and Maria
Ed:
Sorry it took me so long to get the pictures off to you. Anyway, we are digging the new look in the fireplace. You and your staff have been wonderful, from the first phone call to the last question. The handful of times I called for clarification or assistance it was about making sure I was comfortable, not once did I feel as though you guys left me hanging. As you promised during that first call, this really was one of easiest do it yourself projects I have ever completed. Thanks, you guys made it easy. I feel fortunate to have landed with you and your organization.
From: T R [mailto:trnmaria@msn.com]
Sent: Monday, December 14, 2009 9:17 PM
Here are their fireplace pictures and self installation.

Family room side above
Living room side below


Paint the walls

Pour in the larger lava as a base and then cover it with our small crushed lava.


Then you are done!

The fire pit below was constructed by Andrew Jordan in Miami Florida, Buena Vista Flats
We build a 16" x 16" aluminum pan with a 1/2" lip on top. The propane tank was mounted below the table top. Nice and simple feature!

If your in the area, send them a line or stop by Buena Vista Flats

CLICK HERE TO PURCHASE IN THE E-STORE!
The fireplace pictures below belong to John Krakowski. This is a complete make over/ transformation of his fireplace. The colors that were used are:
Bronze Base Glass,
Bronze Reflective Base Glass,
Yellow Topper,
Yellow Amber Topper,
Dark Red Orange Topper,
This is a very nice self installation: A picture is worth a thousand words!


CLICK HERE TO PURCHASE IN THE E-STORE!
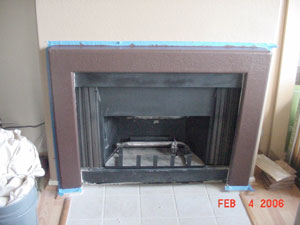
The fireplace below was a Self Installation by Julie and Ty Hergenrother. This is a typical Direct Vent conversion that we help hundreds if not thousands of customers convert from those nasty logs. The glass that was installed was a base of Starfire Base Glass and topped with Bronze Base Glass and Gold Base Glass.

These all start out nasty and we do what we can to change that, one fireplace at a time.


We even made the bottom face shield to make it look more uniform. This can also be done in any metal or design.

The next fire table was built by Brian Johnson of Omaha Nebraska, very nice! We supplied the components and Brian did the hard part, the table.
The blue is actually food coloring.