CLICK HERE TO PURCHASE IN THE E-STORE!
CLICK HERE TO PURCHASE IN THE E-STORE!
The fire pit below was a traditional lava rock fire pit
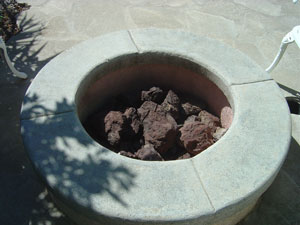
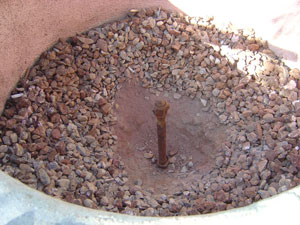
Now filled with lava rock (crushed 1/4" 3/8") over 3/8" 1/2" crushed. Remember the larger is under the smaller to keep the glass from falling through.
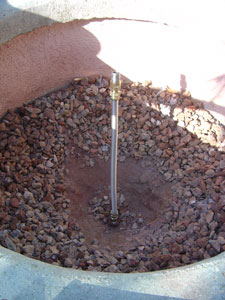
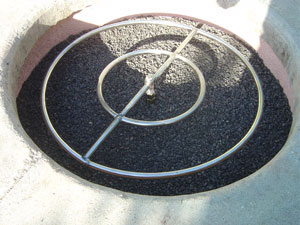
Above a flex line was installed to raise the ring to the surface. You don't want to leave the ring at the bottom unless you want an explosion or if you want to get rid of the significant other.
Below
Pour more crushed lava to make the desired shape of the fire pit and test burn for flame pattern.
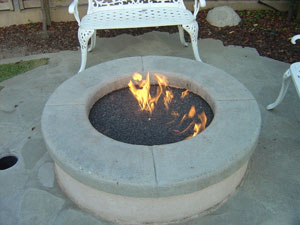
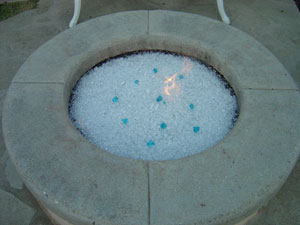
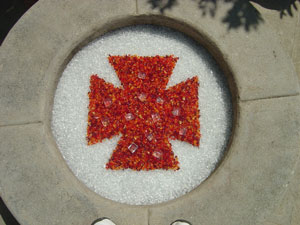
Starfire Base Glass and a few other colors were added
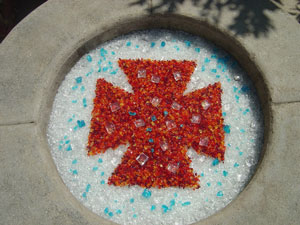
Azurlite Base Glass, Scarlet Topper, Ice Ice Ice Topper, Copper Blue Topper, Copper Blue Topper is a chameleon as when it gets hot it turns green and when it cools it turns back to blue!
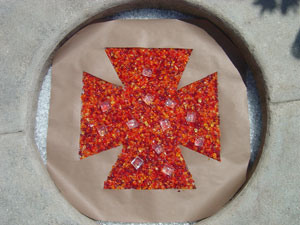
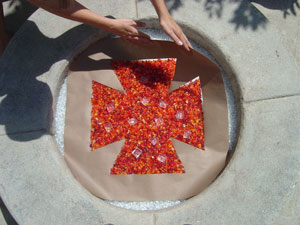
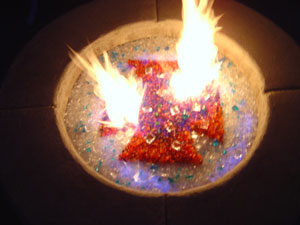
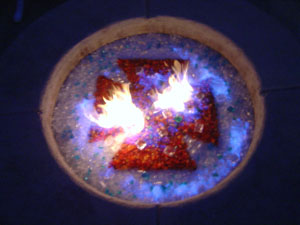
Patterns, can you do better?
Pretty creative!
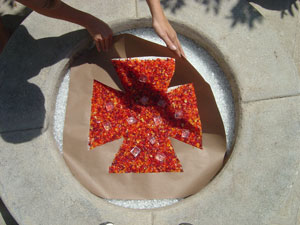
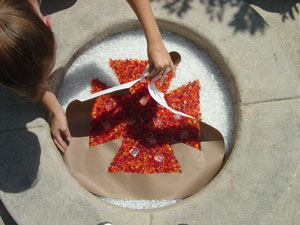
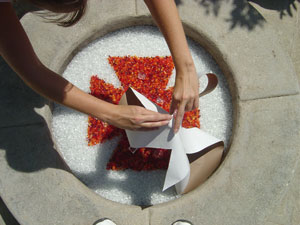
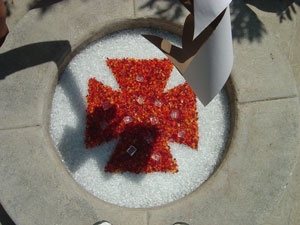
Great job and very creative.
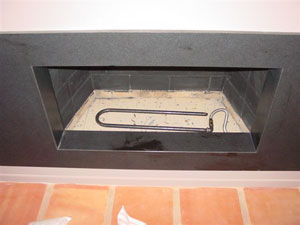
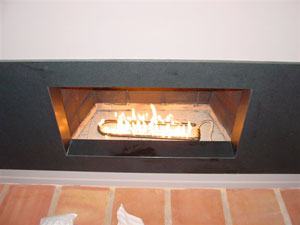
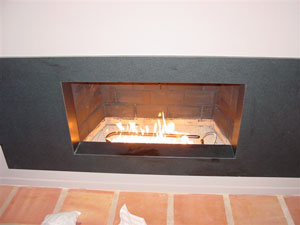
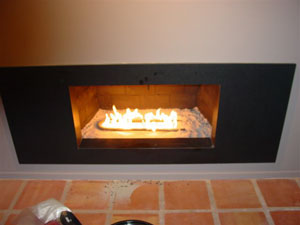
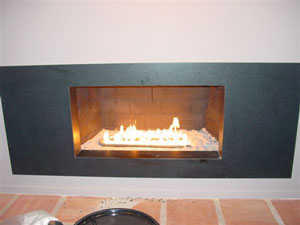
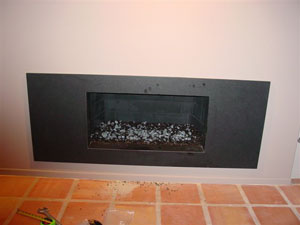
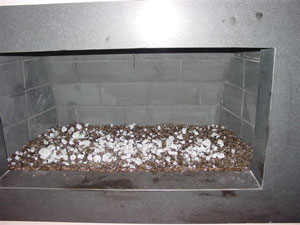
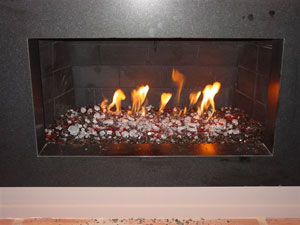
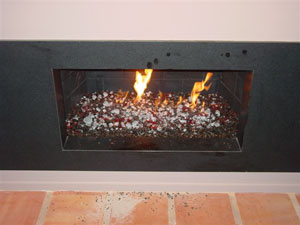
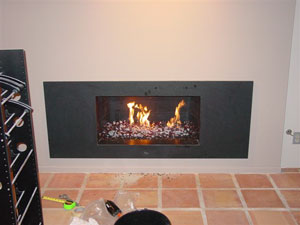
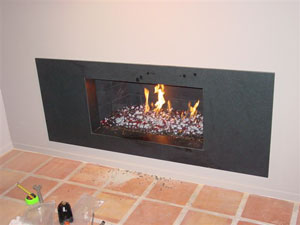
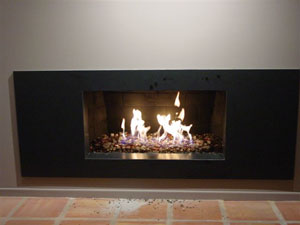
The pictures below are of a self install with:
1/4" Bronze Base Glass and 1/2" Bronze Base Glass, 1/4" Starfire Base Glass and 1/2" Starfire Base Glass.
CLICK HERE TO PURCHASE IN THE E-STORE!
The pictures below are of:
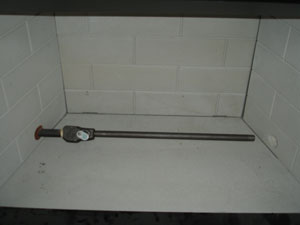
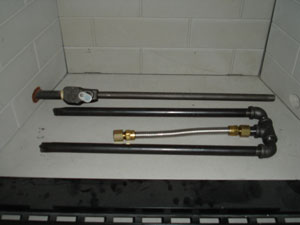
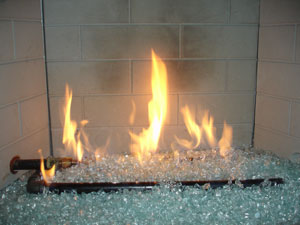
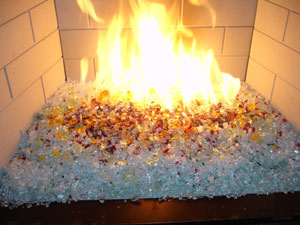
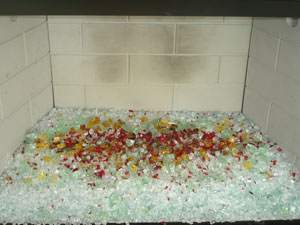
This is how easy it is to install. This is all glass and if you need to build it up a little or a lot then use a filler to save money
CLICK HERE TO PURCHASE IN THE E-STORE!
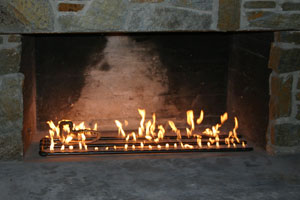
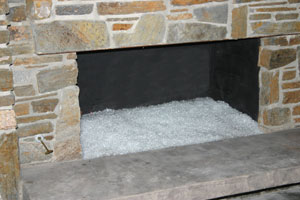
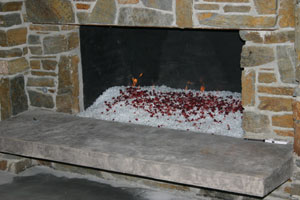
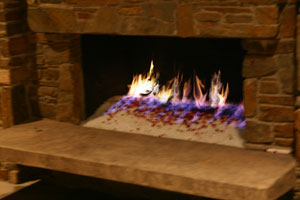
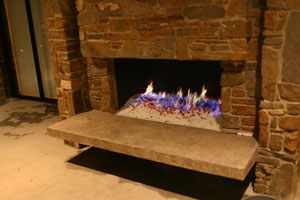
The fireplace below was on the outside wall of the fireplace above. We also had a Starfire Base Glass with Red Topper and Red Orange Toppings, Scarlett Toppers, Copper Ruby Red Toppers. This fireplace was filled 4" to save on the cost of the base glass. If anyone ever tries to tell you different, well tell them *#@!+$% their wrong! This fireplace was also 54" across the front as well.
CLICK HERE TO PURCHASE IN THE E-STORE!
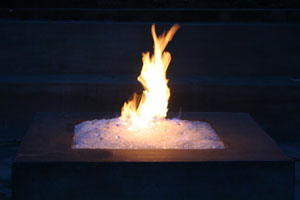
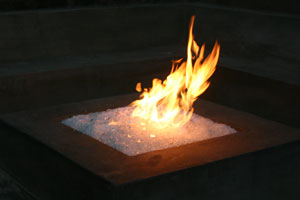
The fire pit below has a Starfire Base Glass with Ice Ice Ice Topper on top. This is a concrete molded fire pit at the same home as above in Pasadena, California. Later there was 30 lbs of Red Topper added and maybe we can get more pictures.
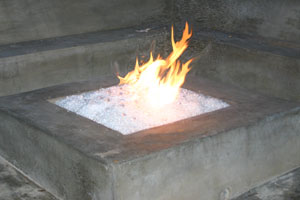
The fire table below is a propane model and is a very easy conversion. Just call and we will convert it for you and or show you how. The glass used was a layer of
Black lava under the base of
Gray Base Glass,
Black Luster Topper with
Copper Ruby Red Topper. This fire table belongs to Eric Bergman in Palm Springs and he loves it.
The fire pit below has a
Azurlite Base Glass with
Aquamarine Blue Topper,
Hyacinth Topper,
Citrine Topper and
Copper Ruby Red Topper. This is a propane fire pit in Texas. Our dealer installed this glass and explained to the customer to eliminate the soot from the propane we had to lean the mixture with air. The customer asked the burner manufacture to come out and inspect the fire pit. The manufacture told the customer the glass was defective and this was causing the soot. The manufacture didn't even know how to get a clean burn on their own product! Needless to say the fire pit is still producing clouds of soot and the customer now knows the manufacture didn't even have a clue. The smell in propane is an added oil to the liquid propane so it can be identified. The oil will still burn off as the fuel is used but we lean the fuel by introducing 6 parts of air to the fuel to virtually eliminate the soot from the fire. Below are before and after pictures of the propane fire pit.
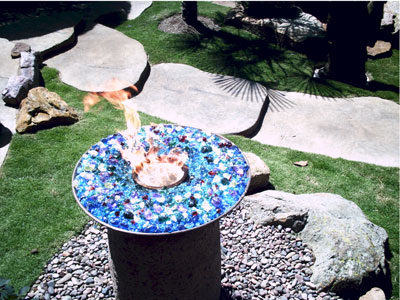
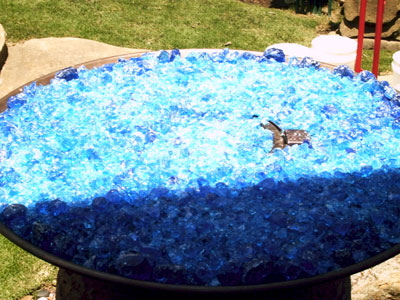
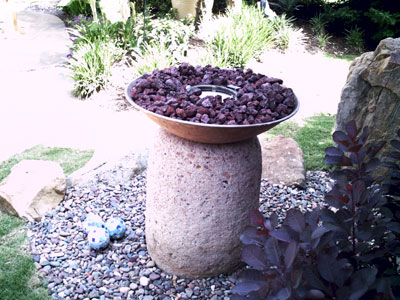
As you can see below the fire pit was creating soot long before we even started. The glass had nothing to do with burner as the burner was in the middle of the glass. The manufactures of most of these propane fire pit and fireplace burners don't even have a clue on what they are doing so please be careful. In this case the manufacture didn't know how to get a clean burn so there fore he said it can't be done! You be the judge, what looks better?
 CLICK HERE TO PURCHASE IN THE E-STORE!
The fireplace below in in Lakeland, Florida and was installed by John Addison for his customer. The fireplace has one of our propane pan burners with a remote control. We built a brushed aluminum surround with out the inner glass per the customer request. The glass that was used was a Gray Base Glass with Black Base Glass and Copper Ruby Red Topper on top.
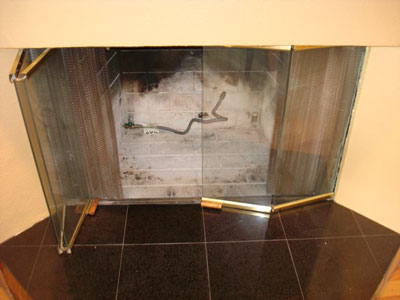
As you can see the fireplace was not much to look at until we added our touch.
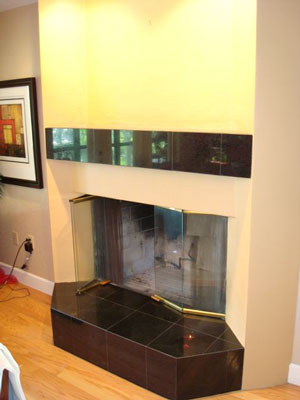
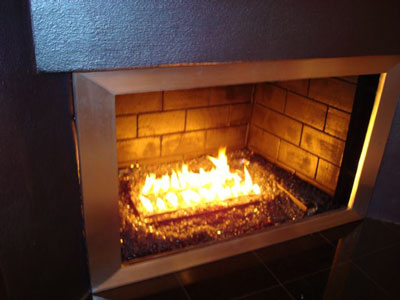
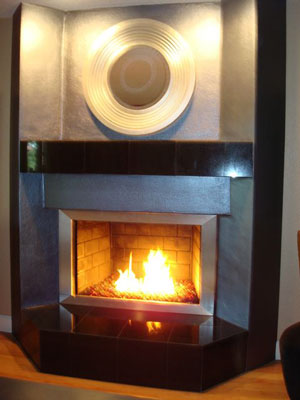
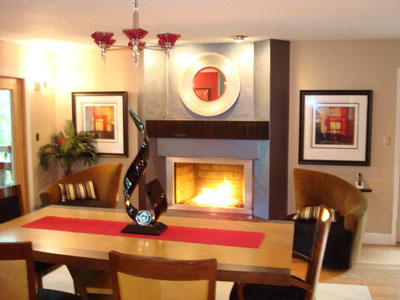
You be the judge, We think it turned out wonderful!
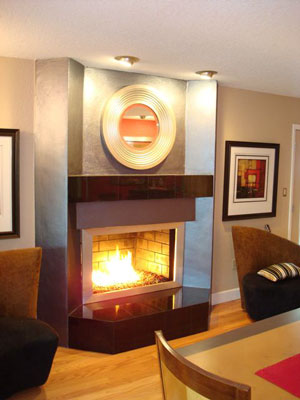
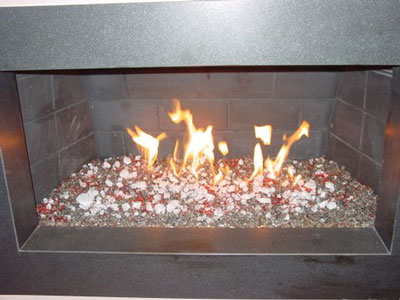
The fireplace below is a before and after and a "how to" make it low and lean. A more contemporary look. This is a self install by Rich Kamins and one very nice job!. He used a Bronze and Bronze Reflective base glass. Topped with a bit of Starfire Base Glass. Ice Ice Ice Topper and about 2 pounds of Copper Ruby Red Topper for a splash of color.
Typical nasty fireplace before Moderustic!
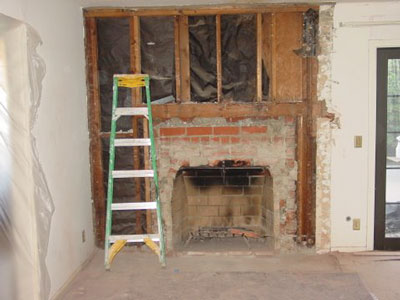
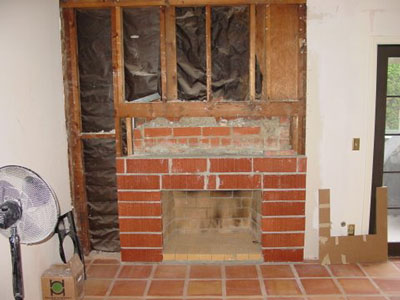
A few bricks and some drywall
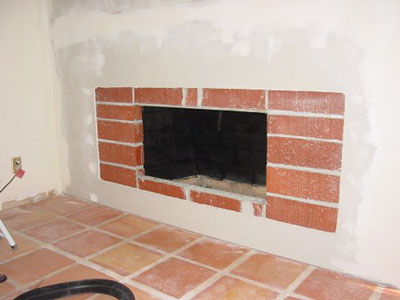
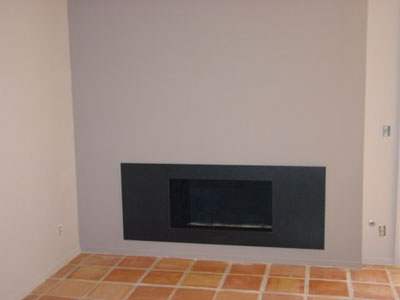
Some sand under the burner for filler to raise the base glass.
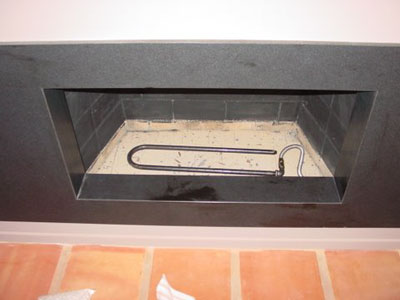
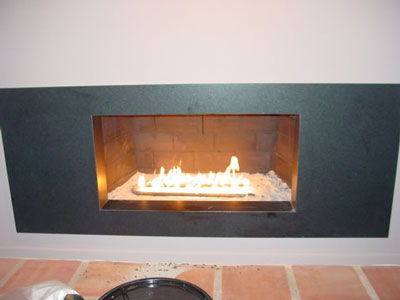
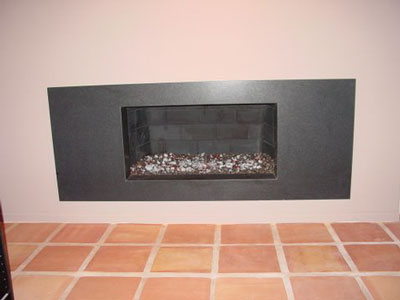
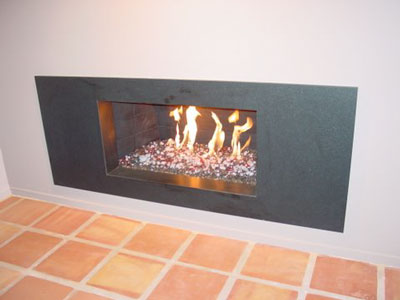
And here you have one nice finished fireplace.
CLICK HERE TO PURCHASE IN THE E-STORE!
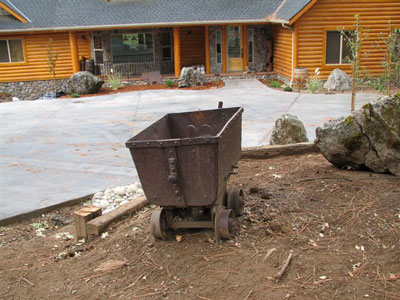
The fire pit below belongs to Mike DeVito in Northern California. When I saw his idea I was excited to help him create something new and wonderful. He took a very old mining cart in his front yard and we helped him convert it to a propane burning fire pit! Turned out pretty cool! Next he is getting a fire pit cover made to cover it from debris and who else knows what.
We use a FPPK (fire pit propane kit) with valves, thermocouple, pilot light and air mixer. The glass that was use is:
I think this is one really nice idea!
It is all supplied by this 20 lb propane tank
Here is the mining cart with the base plate installed with the burners
Here you see the controls, air mixer and thermocouple and pilot light lines under the base plate
You can use a larger (3/4", 1" lava) as a base under our 1/4"
crushed lava as this will save you a few dollars.
Now we pour on the crushed lava to keep the glass from sinking into the larger lava.
Splash a few colors
Have your spouse light it in case something should go wrong! (Just Kidding)
Again here are the first pictures we saw of the mining cart. Great Idea!
Mike, you did a great job!
 CLICK HERE TO PURCHASE IN THE E-STORE!
CLICK HERE TO PURCHASE IN THE E-STORE!
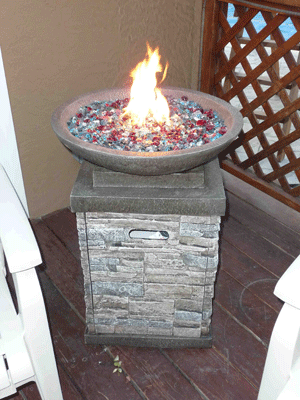
The fire pit below was purchased locally and then we converted it to burn propane without soot! The colors used were:
Starfire Base Glass,
Here is what is looked like when he started. These manufactures have no imagination!
This only cost about $100.00, complete!
CLICK HERE TO PURCHASE IN THE E-STORE!
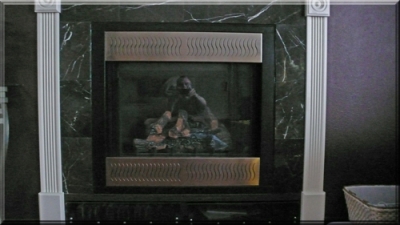
Above is your fireplace now (if you like logs).
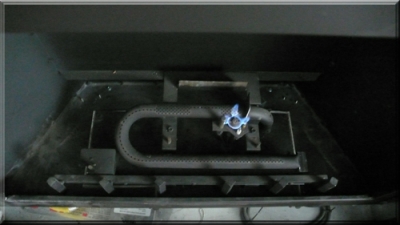
Below is your burner system that came with your wonderful Direct Vent Fireplace and logs.
Below is a pictures of your pilot light system
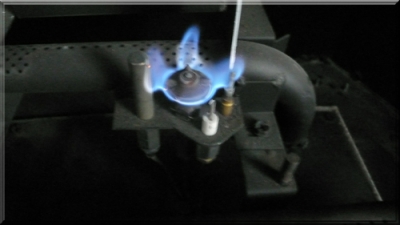
Below we have removed the "stuff" and exposed the pilot and gas connection.
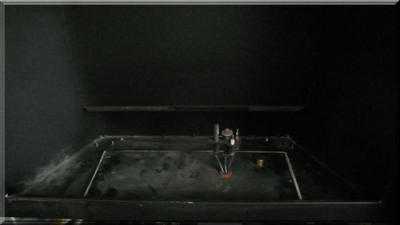
Royce built a pan to fit the fireplace.
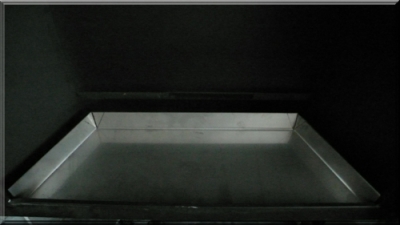
Below he cut the pan out to accept the pilot light.
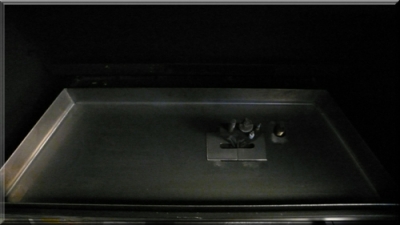
Connected the gas line.
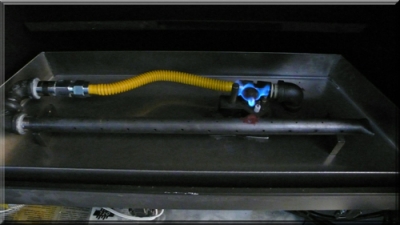
Tested the burner.
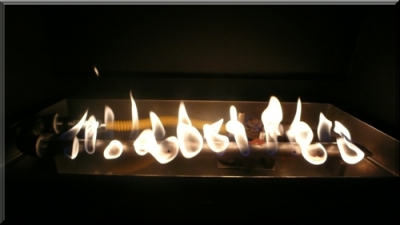
Pour the glass and your done! If anyone has told you that you can't convert a direct vent fireplace then these pictures and project don't exist! Just because they don't know what or how to do it, doesn't mean it can't be done.
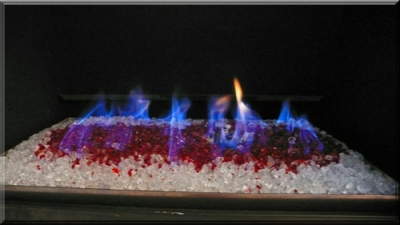
The glass face is back on and it looks much better. A very nice and simple Self Installation!
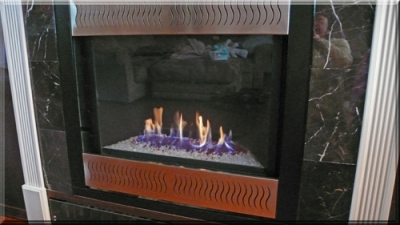
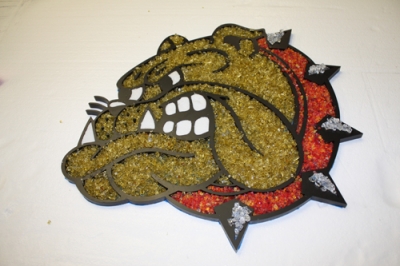
The next pictures was of a Bull Dog cut from 1/2" aluminum.
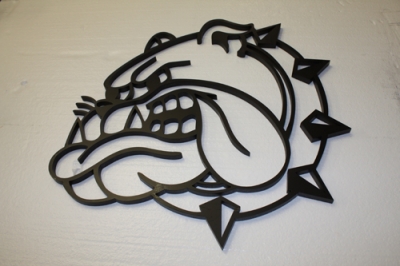
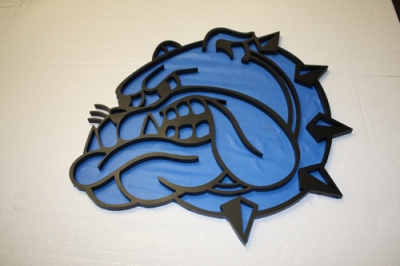
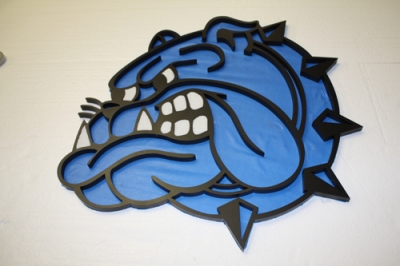
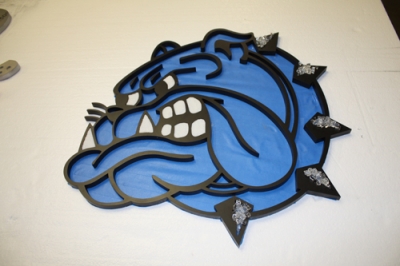
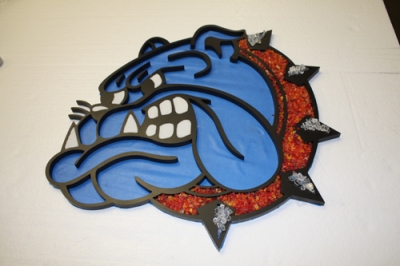
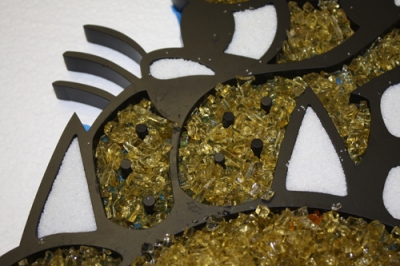
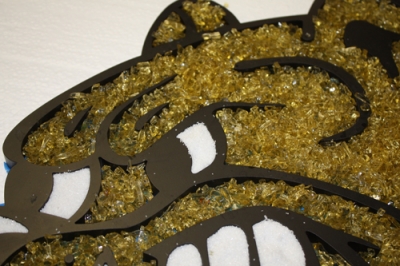
The next two pictures show the whiskers and eye brows inserted.
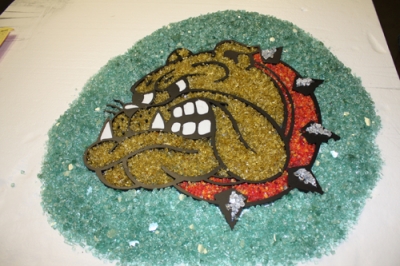
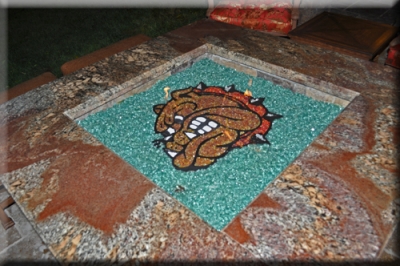
Below, Teena sent us finished pictures of the Bull Dog LOGO!
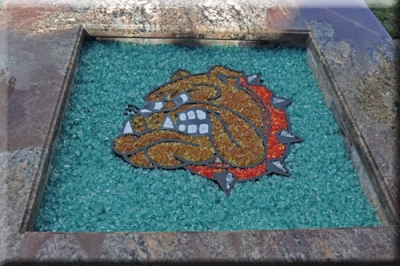
The glass that is used in the fire pit;
White Sand = Teeth and eyes,
Red Topping = Collar,
Amber Topping = Main body,
Starfire Base Glass = Studs on collar,
Evergreen Base Glass and Evergreen Reflective Base Glass = All around
Here is a glimpse of what it used to look like, yuck!
You have to try to understand, we see this transformation everyday and we still don't understand the lure to fake logs, do you? Take a closer look at your fireplace, is there anything nice about it in the daylight?