On this page (as if you needed another page) We are going to show you how to build a basic fire pit for your deck/ back yard.
This was built by Glenn Harvey of British Columbia.
This first picture is the frame he had started with.
You can make one from metal studs, aluminum studs, etc. Anything non flammable.
Wrap it with wonder board or durock/ cement board.
Below you can also wrap it with wire for better adhesion to the backer board.
This fire pit was natural gas. We also manufacture the burners for propane. Well, we are the only ones who actually manufacture propane burners for your projects.
Below you can see the gas connection coming up from the deck. Glenn used a pan but he also could of used an aluminum/ stainless steel base plate as well.
The stacker stone is now being applied.
As you can see below the trimming valve is installed on the side. You would be surprised on how many plumbers don't think of this little detail, a valve to turn it on or off. I have seen the valves installed inside of the pit or not even at all. You also need to be careful as to not have a gas line installed that is too small for the application.
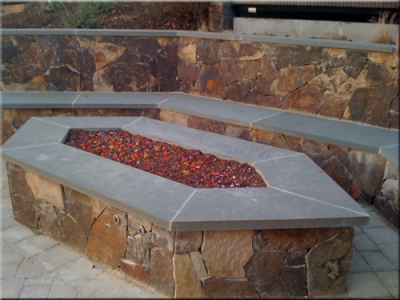
Now the stone and cap are done, great and simple job!
Below you an see the larger
filler lava rock was installed. If a flat plate were to have been used you wouldn't need the larger filler lava rock base.
Below our
crushed lava was used to cover the larger lava rock to insure the glass does not fall through. This makes an even base. What ever shape you make the lava is the shape the glass will take.
The stone on the side of the fire pit used was to match the stone on the house as well. Looks awesome!
The colors that were added are as follows:
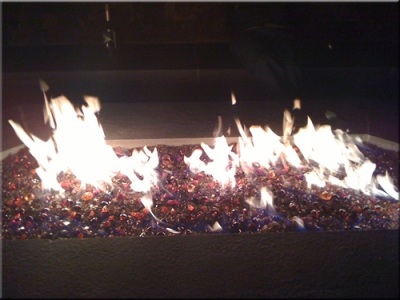
If you notice below the center of the sun, it changes when it get hot! This one of our chameleons that change when the glass gets hot. If you look real close at the Orange Topper (next to the suns center) as well, it turns a bright cinnamon red when it get hot also! All of our chameleons will be posted when we get a chance. This is just another one of our product lines that we have not had time to further promote.
Above is the fire burning and
below the fire was just turned off.
Glenn spent a few hours placing all of the glass to make this very cool scene. So don't just think you can just throw it on and it knows were to go. Very creative!
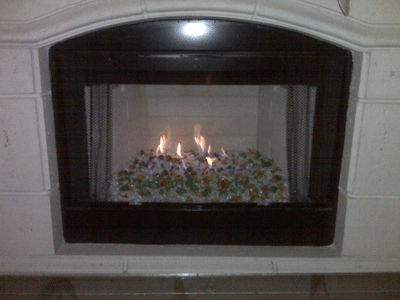
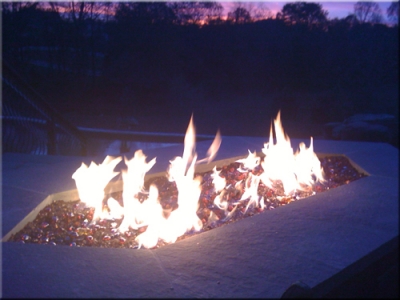
The fireplace below has
a Starfire Base Glass with:
The Orange R140 Topper is actually one of our chameleons, it turns to bright red when it gets hot and then changes back!
Our Copper Blue Topper is a chameleon as well. It turns to green and changes back to blue when cooled!
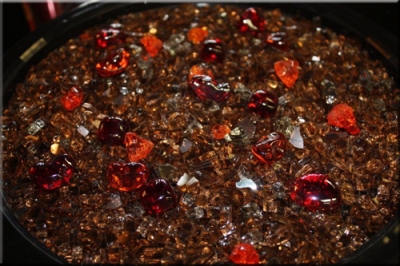
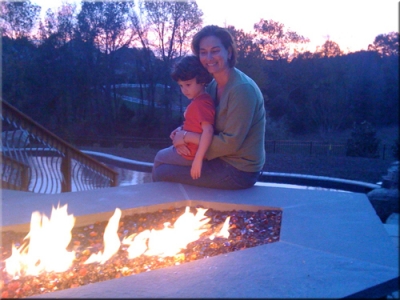
The fire pit below was designed and built by Tamara Lyons and her wonderful family! Junior help most. The glass that was used is:
Bronze Rust Copper Base Glass,
E.D. Diamonds, Red and Orange,
Amber Diamonds,
Orange R140 Topper, this particular color is one of our chameleons. It turns a bright cherry red when heated and cools back to orange when cooled!
The fire pit had three sets of burners. One in the center and one on each outer edge. This way you can control how large, how much and where you can have fire when you want it.
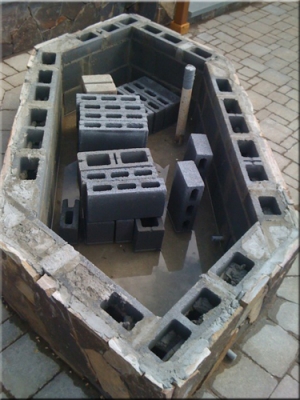
This is how it started
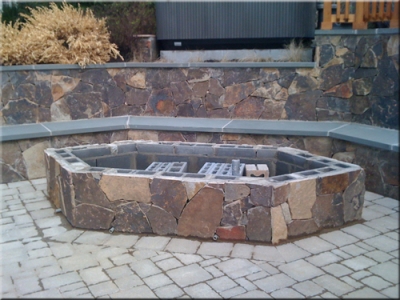
Pea gravel base
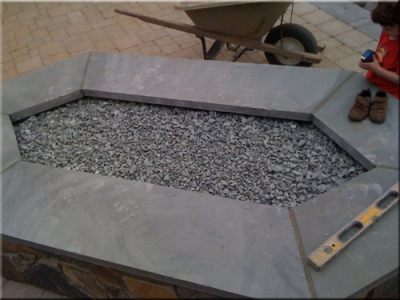
Measure once, cut twice.
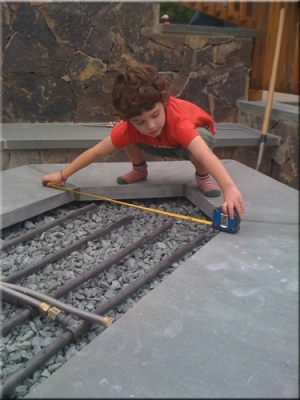
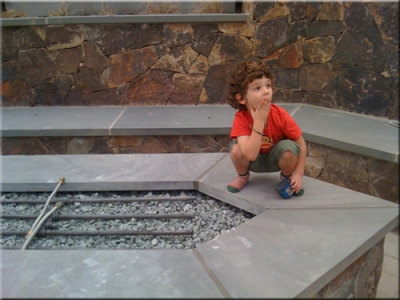
Ohhh, what color?? There are sooo many. What to do????
So we sent a make up of what colors they liked. We can do this for you as well. Just tell us what colors you want and we will mix a batch and send you the pictures!
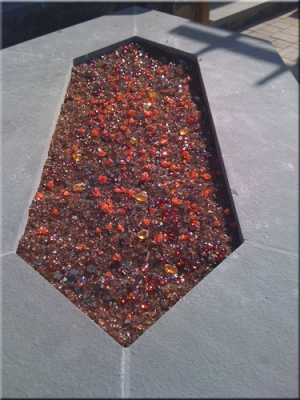
You should of seen the rest of the back yard! Who needs a house! I would live in the back.
The next fireplace was a self installation by Chris in Palm Springs California. He used about 3" of a sand base under the Starfire Base Glass. Then he added:
Here we go: