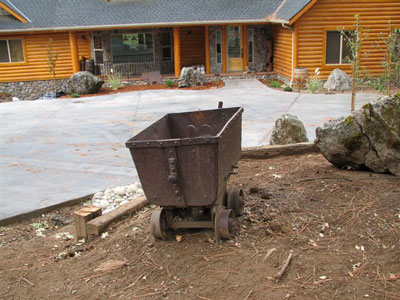
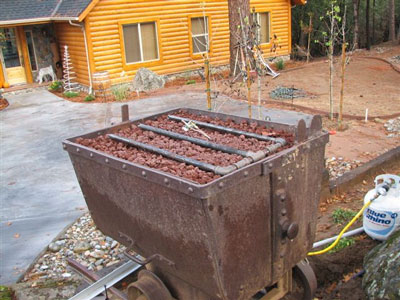
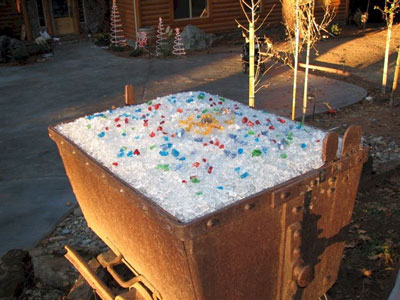
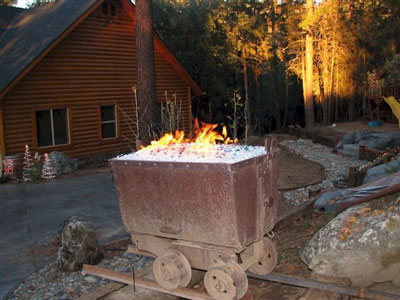
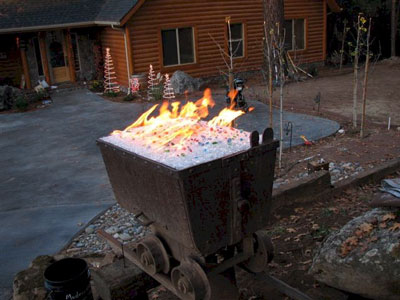
The fire pit below belongs to Mike DeVito in Northern California. When I saw his idea I was excited to help him create something new and wonderful. He took a very old mining cart in his front yard and we helped him convert it to a propane burning fire pit! Turned out pretty cool! Next he is getting a fire pit cover made to cover it from debris and who else knows what.
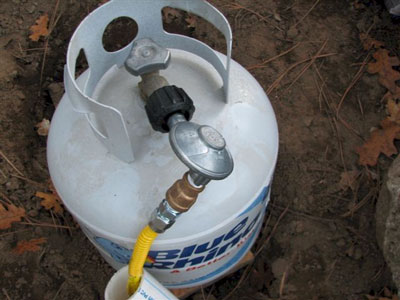
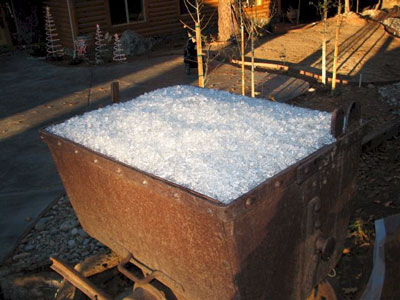
We use a FPPK (fire pit propane kit) with valves, thermocouple, pilot light and air mixer. The glass that was use is:
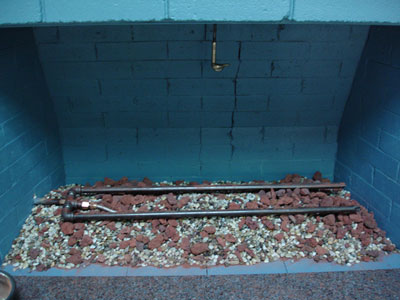
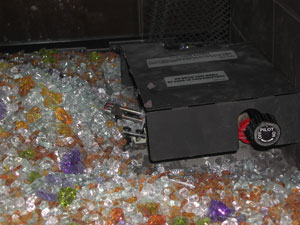
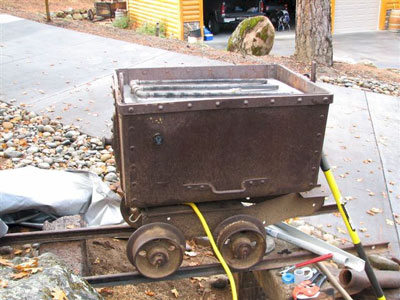
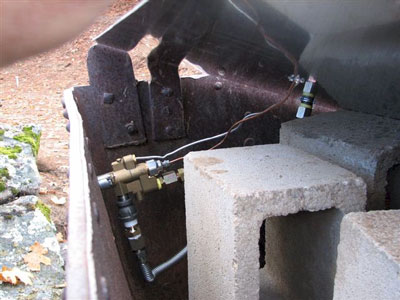
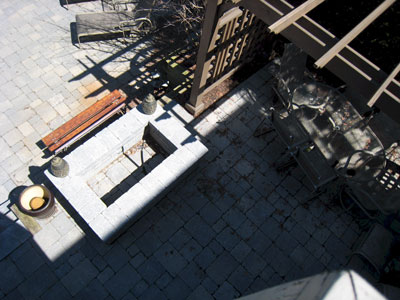
Here you see the controls, air mixer and thermocouple and pilot light lines under the base plate
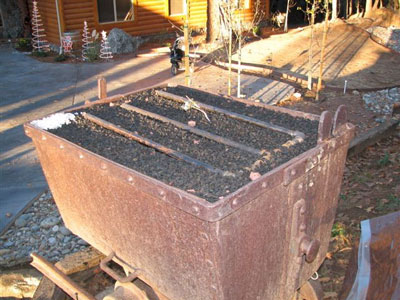
You can use a larger (3/4", 1" lava) as a base under our 1/4" crushed lava as this will save you a few dollars.
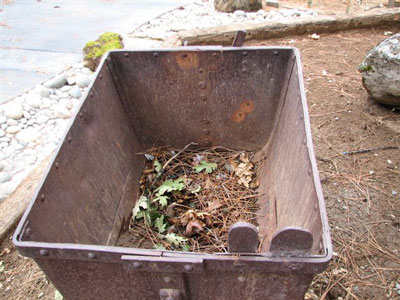
Again here are the first pictures we saw of the mining cart. Great Idea!
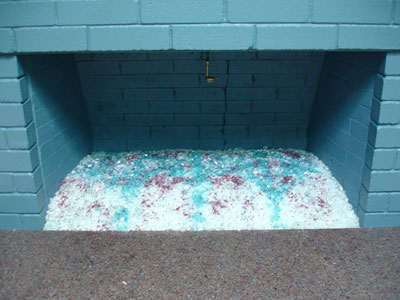
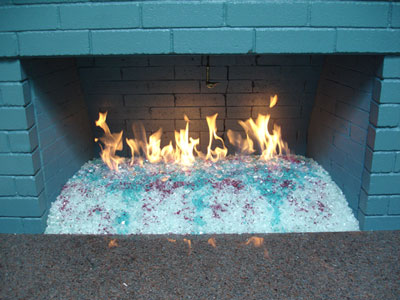
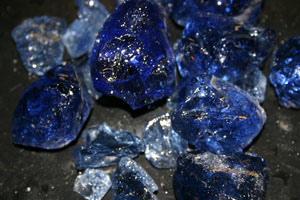
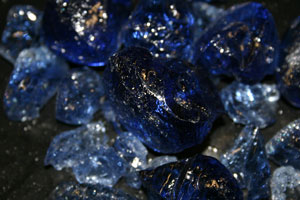
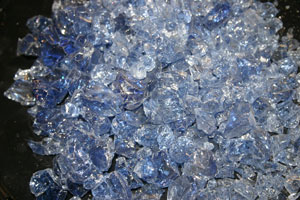
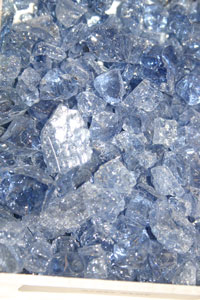
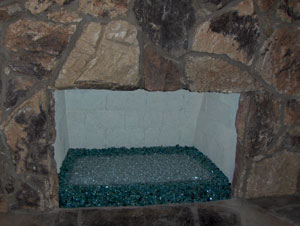
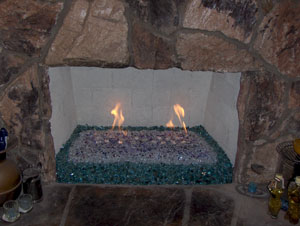
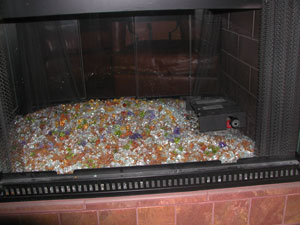
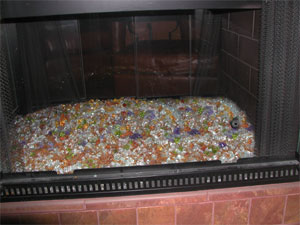
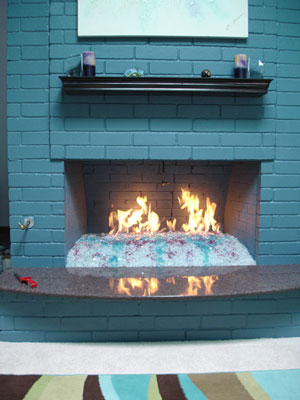
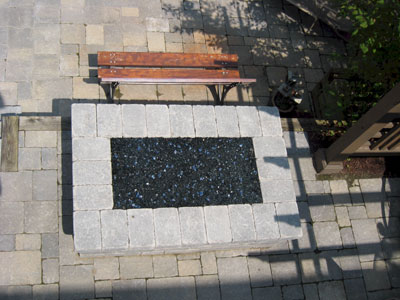
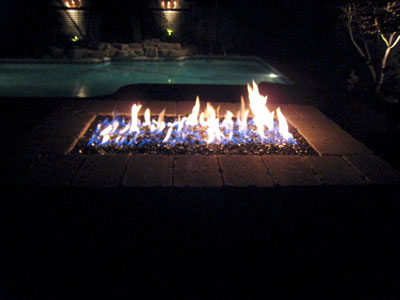
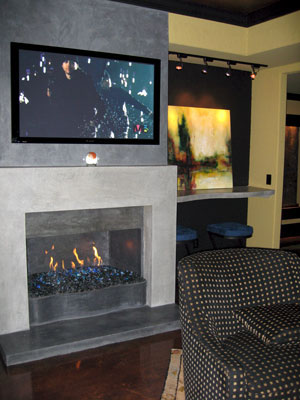
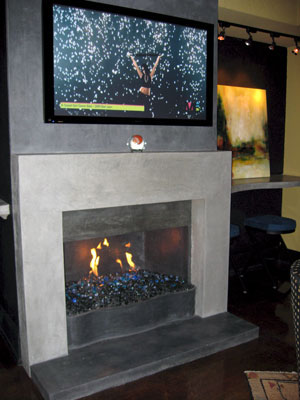
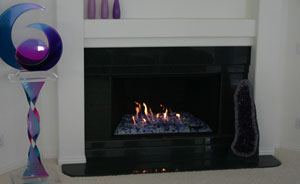
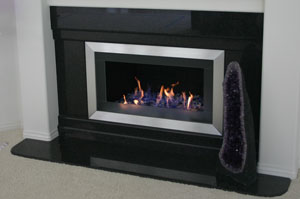
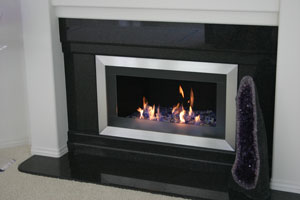
The fireplace below has a Starfire Base Glass and several Toppers for color:
Pink, Cobalt Blue, Fuchsia, Hyacinth, Amethyst, Pale Cobalt Blue, Aquamarine, Lilac, Steel Blue and Purple.

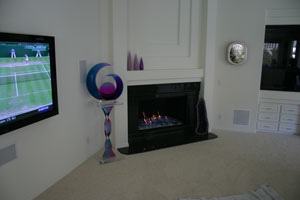
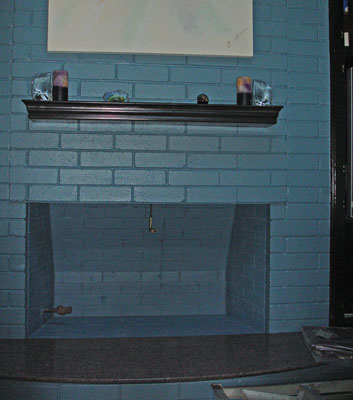
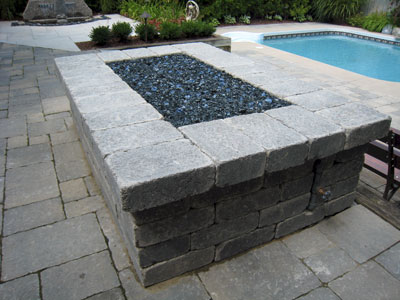
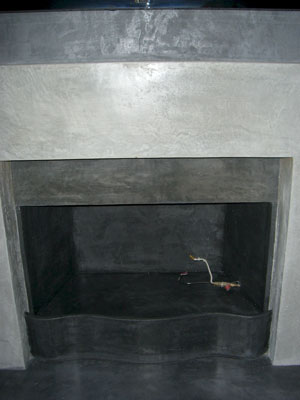
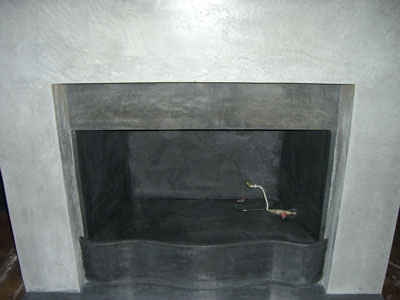
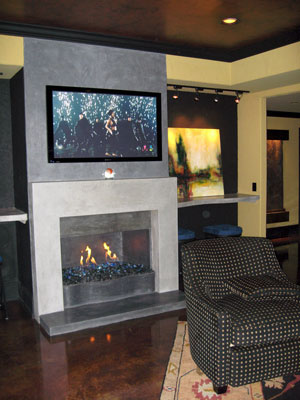
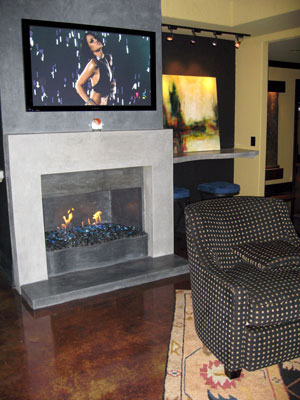
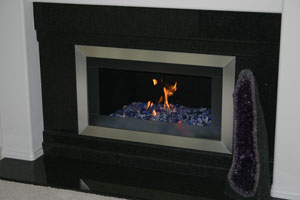
Now we added a surround to finish it off. If you look on the lower right there is a remote control which is hidden by the surround.
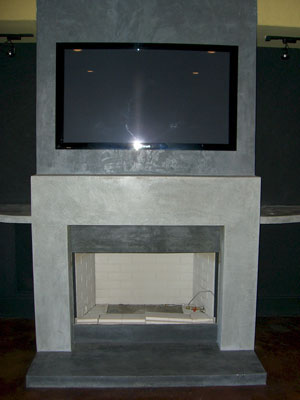
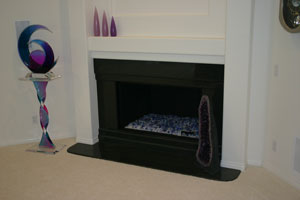
I finally managed to finish the fireplace. We have decided to place a 2" piece of metal in front (which hasn't been done yet), though, to keep the glass off the ledge. We thought it would be deep enough, but that didn't quite work.
To enable me to keep the center area smooth, we had to place the burner on top of the wall pipe, which created a rather high burner placement. This ended up creating a bit of a problem because I had a steep slope to the hearth. This is why I need to add the metal strip in front--so the glass doesn't roll down and come out of the fireplace. We had decided to not have a glass door on it, although if we find something we really like, that could change.
The pics might come in 2-3 e-mails, but I'll describe them here. The first few pics are duplicates of ones I already sent you.
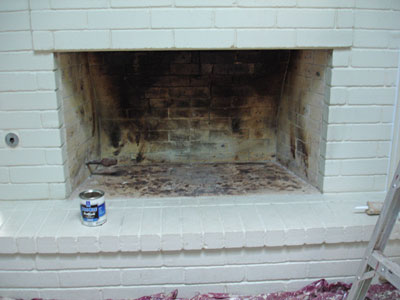
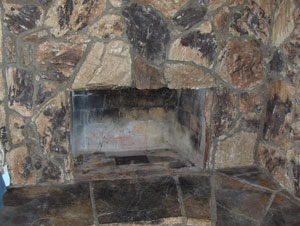
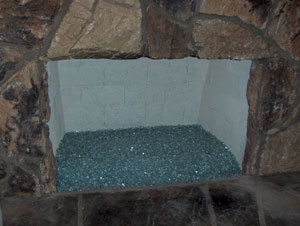
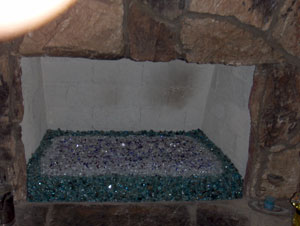
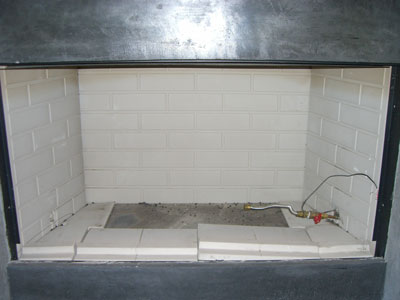
1. Original fireplace, emptied out.
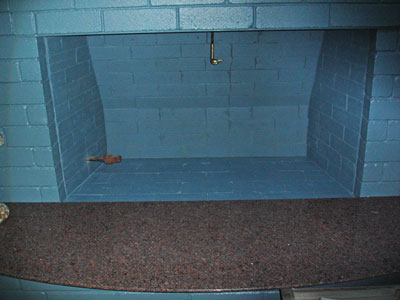
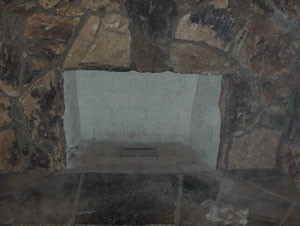
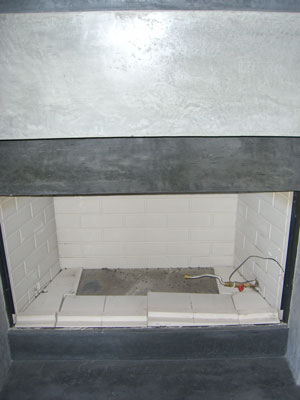
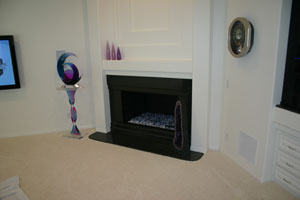
2-3. After painting with the dark blue from the chart you guys gave us. The wall was painted to match, although, I'm not sure I really like it. I'm trying to reserve judgement until I see it for awhile.
The damper handle is a brass duck head which wasn't even noticeable when it was all black.
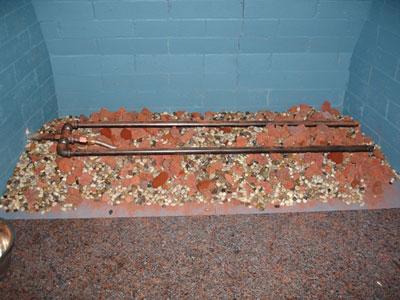
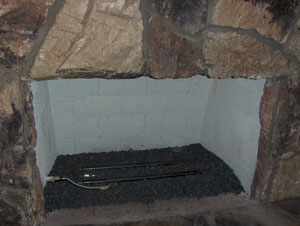
4-5.New burner in place. This created more problems than expected due to the wall pipe being higher than most. We ended up using regular lava rock, since we couldn't find the smaller rocks. Then we added small pea gravel to fill in gaps around the lava rock. After the burner was finally level, we added the sand.
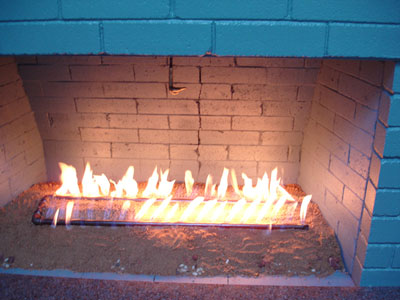
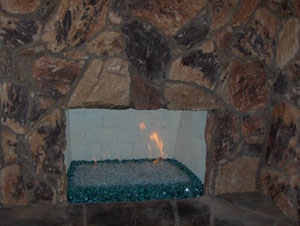
6. Testing the burner with sand added.
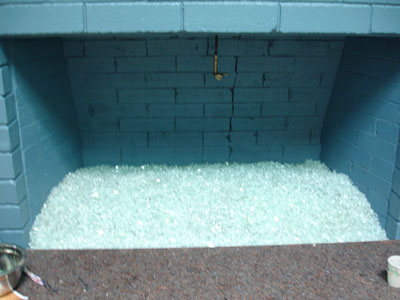
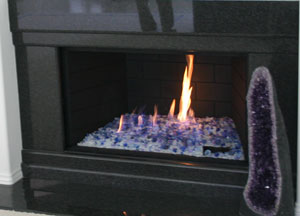
7. Clear glass base added.
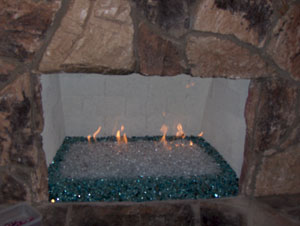
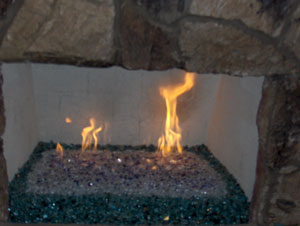
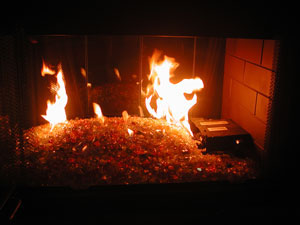
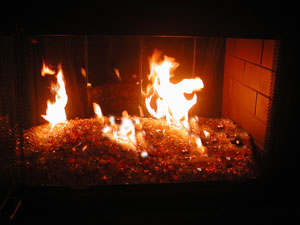
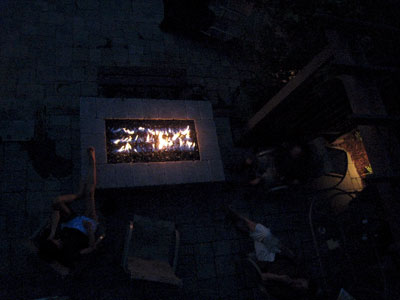
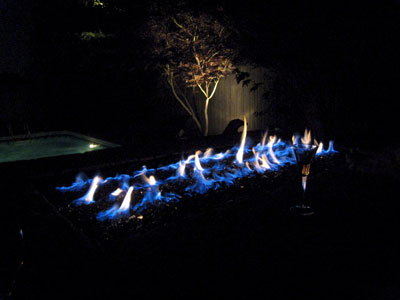
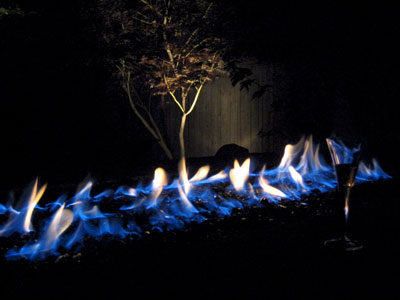
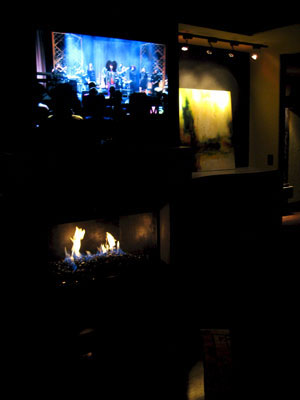
9-10. All finished and burning.
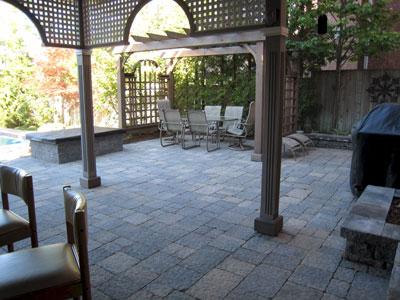
We're still working on the right side of this wall which has cabinets holding the TV and storage. Once the entire wall is finished, I'll send you one final pic of the entire wall. Not sure how soon that will happen, so don't wait for it, if you want to post these pics on your website.
I want to thank you for all your help. Your store was great to visit, so we could pick our glass out in person. Your staff was very helpful and we had a great time making our final color choices. I'll will definitely recommend you to others.
Senior Instructor for Art Clay
PMC Certified
crafterjudi@yahoo.com e mail any comments or questions to Judi